
Preparation seems to be the key to just about everything, right? While it may not exactly feel like spring around here now, I’ll bet my rock bottom dollar that it’s just around the corner and (here comes another trite saying) it will be here before you know it.
There some of these guys flying around the house and trees!

This winter’s been fairly mild, as far as winters go. So, I can reasonably assume that spring-like weather will be here early. At least, I’m hoping so and I’m preparing for it. The first order of business for preparing, besides getting the ZN Bobber started, is to put a restoration plan on paper for the 1981 Suzuki GS850L.
This is my first crack at it so far. This plan is different than the ZN plan because, right out of the box, the 850 is in much worse shape. The bike hasn’t seen a wrench or rag in over thirty years. It needs to be completely stripped down all the way to the frame.
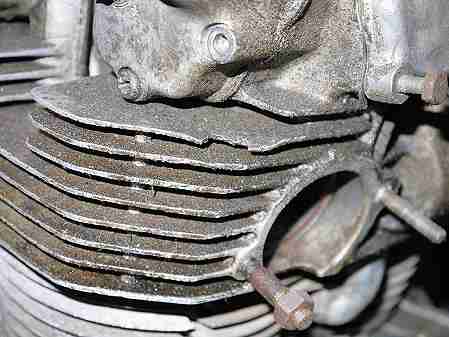
On the upside, the motor turns freely by hand, the interior of the fuel tank is virtually free of rust and just about all the original parts are on the bike.
The Schedule of Work goes like this: Disassembly, Inspection/Repair/Renovation, and Reassembly.
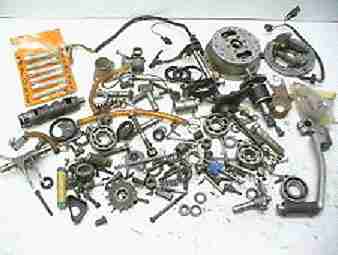
The goal of the Disassembly phase is to reduce the bike to a large number of components that are still substantially assembled. The components are boxed and labeled and kept in one location. This minimizes lost or mixed parts and improves the reassembly rate. During disassembly, it’s important to take notes and photos to help in the reassembly.
- Before doing anything, the first step is to clean and degrease the entire bike. There are several cleaning and degreasing methods. Since there are 50 lbs. of sodium bicarb in the basement just waiting to be used, I’ll soda blast the bike before taking it apart.
- After cleaning is complete, disassembly begins by removing the body work—fuel tank, side covers, seat, grab rails, sissy bar.
- The next step is to disassemble the front end. Remove the front fender and the brakes. If possible, the entire brake system will be removed as a unit, leaving it intact until it’s time to work on it. Remove the headlight, handlebar controls, handlebars and instruments. The instruments must be kept upright at all times. Building cardboard cradles for the instruments is helpful. Now, remove the headlight brackets that slide onto the front fork tubes by removing the top triple clamp.
- It’s time to now disassemble the rear end starting with the turn signals, tail light assembly, ducktail, rear fender and inner plastic fender. Leave the tail light assembly intact. Then remove the front and rear foot pegs. Remove the rear brakes. Keep the component together as a unit, separate from the front brakes. Take off the chain guard and other miscellaneous components at the rear end.
- Remove the exhaust system and wiring. Disconnect wires from the main harness and remove the battery compartment, tool tray and other brackets under the seat in order to keep the main wire harness in one piece.
- The next components in sequence are the carburetor, air box, rear suspension, front wheel and front suspension. The swingarm shaft and swingarm can be removed after removing the rear suspension. At that point, it’s a good idea to lower the rear of the motorcycle onto padded supports.
- Finally, the engine can be removed from the frame. Verify the engine mounting bolts are oriented correctly. Tilt the engine over onto a padded surface. Pull the mounting bolts and lift the frame off the engine.
That’s it for disassembly! This part of the restoration process is easy…yeah, easy to quickly remove parts, set them aside, take off more parts put them somewhere else, and so on until parts are everywhere. That’s simply not helpful. It’s better in the long run to go slow, take pics, make notes, neatly bag and label everything. In other words, be organized while disassembling the bike. Use some logic in keeping parts together. For example, front forks are kept together with their specific parts, i.e., fork cap covers, dust cover boots, etc., top and bottom clamps are kept together, front brake components are stored together, and so on.
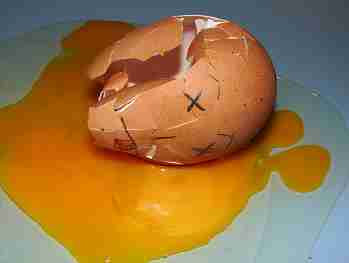
I could be wrong, but I think some projects are doomed from the get-go because disassembly ends up being a bunch of parts in a box that nobody could reasonably put back together again. Kinda like Humpty Dumpty.
With everything disassembled, logically organized and stored, there is just one last part to the disassembly process—cleaning. Now’s the time to clean all the remaining grease and grime from the parts. Then all parts needing work, including paint, can be sorted through and recorded as needed before the fun begins.
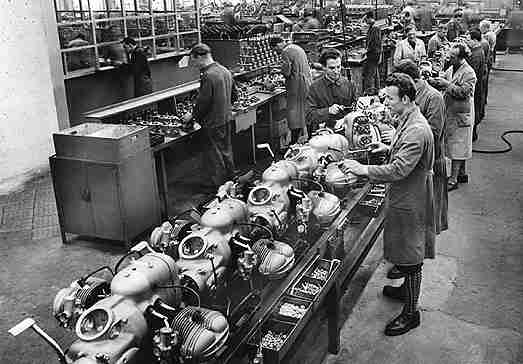
This post and the next two or three posts dealing with the plan come from reading How to Rebuild and Restore Classic Japanese Motorcycles by Sid Young. It’s a really good read. For me, it was good to see what I was doing right while getting tips and tricks that will help keep things organized and move my projects along faster.
Next: Cleaning old motorcycles
One Response
Sabrina Addams
It really helped that you discussed the importance of keeping the disassembled parts organized so that when you go to put them back together, you’re not lost. My brother and I are wanting to get our dad’s vintage bike restored as a surprise for his birthday. Learning the intracicies and complexities of taking the bike apart taught me that we should probably have a professional do it to ensure the bike’s livelihood.