
Welcome back to the exhaust (go here for part 1 if you missed it). There was a slight interruption of progress here, but it’s back to it.
First things first, close the holes that I purposely drilled into the exhaust pipe to deal with the dents. Research told me two things—if you weld exhaust pipes, then you better know what you’re doing, and two, there are no fillers (like J-B Weld) that work with exhaust pipes.
Headers produce a lot of energy. I knew that J-B Weld couldn’t handle the heat produced in a header pipe. Temperatures vary widely depending on many factors. But, the ‘typical’ range might be something like this: Gasoline burns around 1600°F under compression. A properly timed engine may bring that down to 1400°F. So, combustion temperature is typically between 1400 and 1600 degrees F. Exhaust temperature at the head is typically 1200°F. The exhaust gases continually cool until it reaches the muffler at maybe 500°F, depending highly on how efficiently it exchanges heat with the outside air. (These temps are nominal for four-stroke gas motors at load.) J-B Weld HighHeat Epoxy Putty “is able to withstand continuous heat exposure of 400°F and intermittent heat exposure to 550°F.”
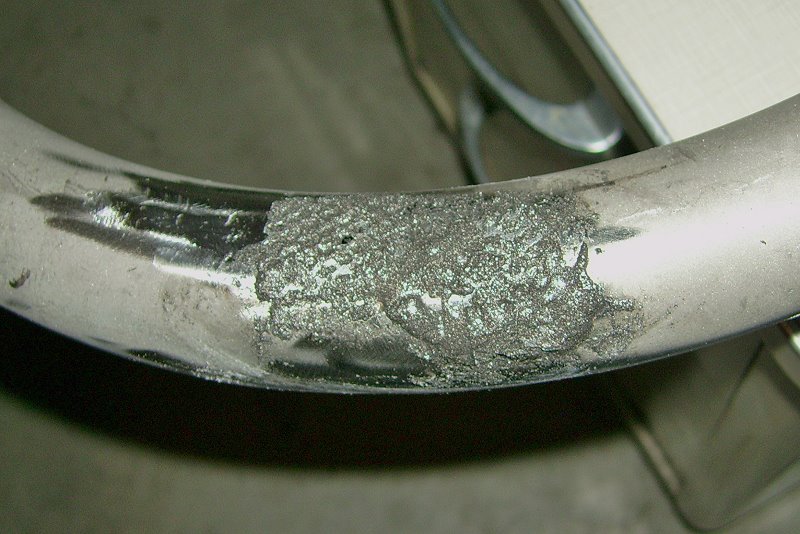
Local auto parts stores had several options. Some were similar to J-B Weld, some not. The one product that stood out from the others was CarGo Thermosteel and I decided to give it a try. Like all putty, paint, primer or what-have-you, preparation will be key. A clean bare metal surface was prepared as well as proper mixing. If this stuff looks mixed, continue to mix and mix some more. Thermosteel can be runny when first opening the container. In that state, it won’t work on a piece that’s upside down. For the header, I applied a small amount, let it cure a little, turned the exhaust pipe, applied a bit more and let that cure. This was repeated over and over until it covered what needed to be covered in the right amount.

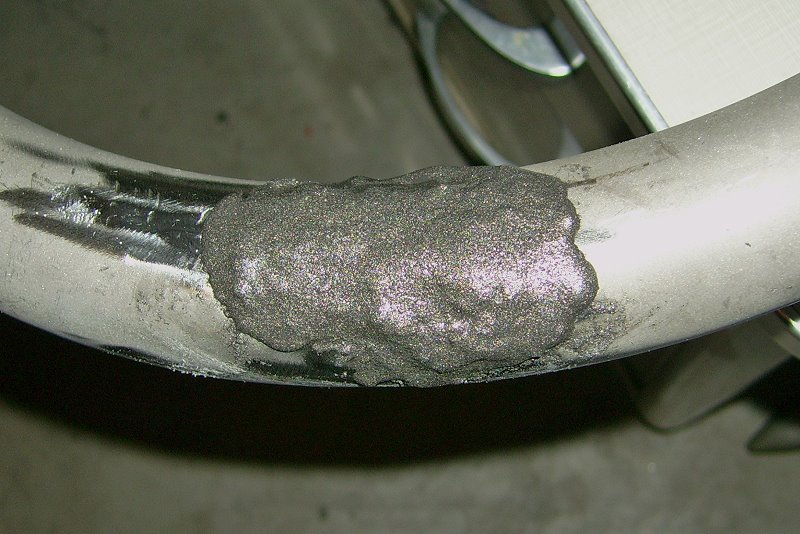
The general direction with this stuff is to work slowly and have patience. I’ve never used Thermosteel so it made sense to let it cure for an extended time before playing with it. The directions say it cures in 12 hours.
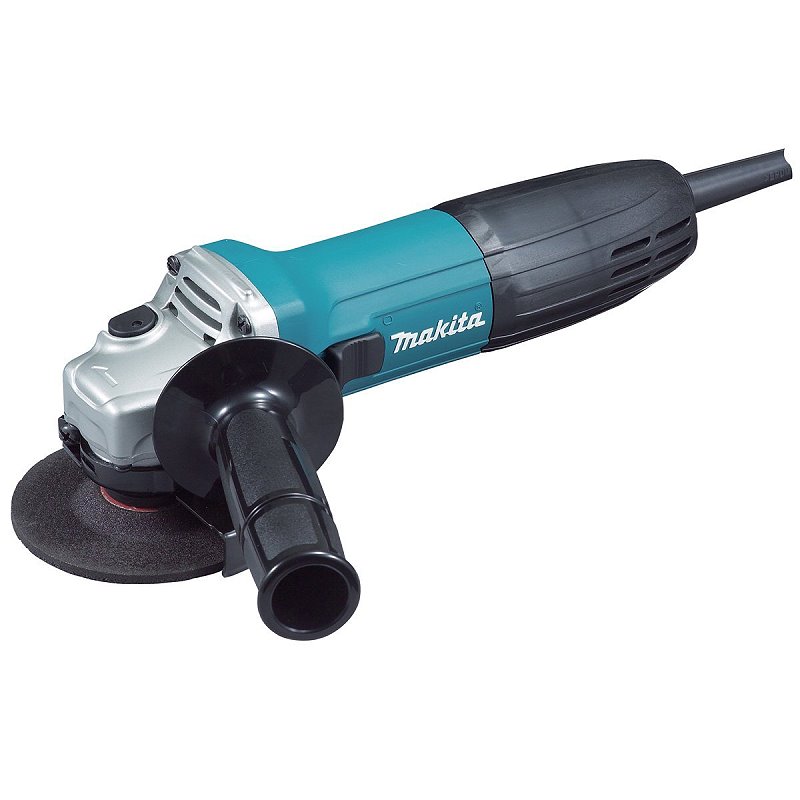
After curing for 48 hours, the next step was to shape the Thermosteel to the exhaust pipe. This means grinding, and grinding means safety equipment—safety glasses, long sleeves, gloves and dust mask. Since this will take some time, ear plugs are a good idea too. As luck would have it, I recently inherited a smaller angle grinder that’s perfectly suited for the task.
The ‘trick’ with the grinding operation is not getting overzealous or aggressive. The goal is to shape and smooth the built-up Thermosteel so it can be painted gloss black using Rust-Oleum Automotive High Heat Primer in Gray and Rust-Oleum Specialty Ultra High Heat in Black.
An aggressive grinding wheel starts the process by removing large amounts of excess material. From there, the Thermosteel is subjected to increasingly finer grits of previously mentioned 3M SandBlaster Discs.
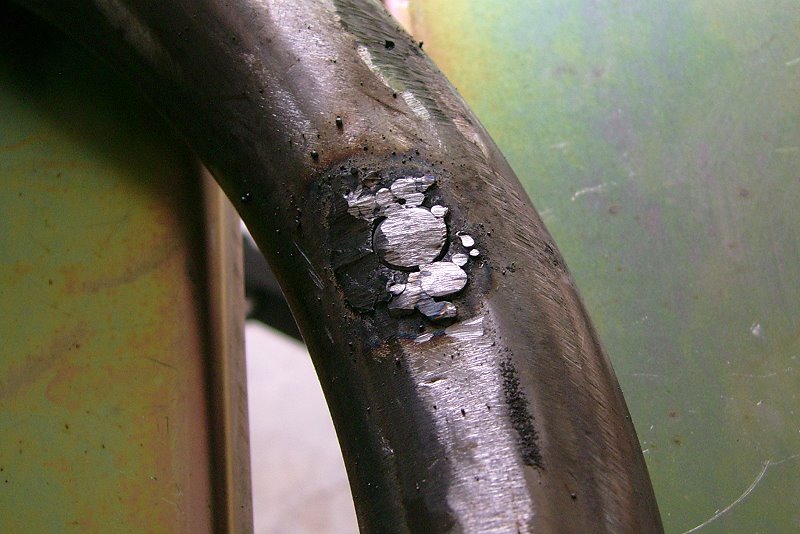
Within the first minute of grinding, I knew there was a problem. The Thermosteel came off easily, too easily. It didn’t stick to the pipe very well. In some places, I could remove it with my finger nail. My finger pushed through the holes without much resistance.
So…I changed from a grinding wheel to a flapper wheel and removed all remaining Thermosteel. It was worth a try. It’s better that it came off now rather than after painting or going down the highway at 60 mph.
The moral of the story is that header pipe repair needs more than putty…but I already knew that.
Back to the drawing board. The Thermosteel wreck leaves me thinking about breaking out the welder.
I was hesitant to give this a go, especially since I hadn’t welded a thing. The walls of the OEM exhaust pipe aren’t very thick. I’d really hate to burn through the pipes with my untried welding skills and be out an exhaust. But, I really have no choice in the matter, so I better get to school. See previous post, “Schooled In Welding.”
My welding plan was simple. Insert a shortened bolt into the holes, tack them and then carefully weld them in place. As it turned out, the small hole was too small for a filler bolt. The large hole, on the other hand, accepted a bolt.
Tacking was straightforward. I should have used a tacking technique all the way through the welding process. By moving the tacks around, it gives the exhaust pipe a chance to cool instead of holding the heat of a full-on weld in a small area. The result could easily be a burn-through and that’s what I wanted to avoid.
As it was, no burn-through happened. On the other hand, my welds were nothing to write home about. It took several attempts in between grindings to feel comfortable with the penetration. The welds were butt ugly but everything cleaned up nicely with a 120-Grit Flap Disc on my angle grinder.
In the final analysis, my first run at welding was a good learning experience. The exhaust will flow better, which was the point of this whole exercise anyway.
With the last of the repair work complete, I turned my attention to fabricating the baffles. I bought 1-5/8″ exhaust pipe straight tubing from my local NAPA store. Even though the website prices it by the foot, I had to buy a 10-foot section.
Bobbers look good with short exhausts. So I cut 9-inch sections of the pipe to house the baffles and clamp onto the cross-over section. I thought about dumping the cross-over. It’s the heaviest part of the system but there are sturdy attachment points on it and I’ve read that some people lost power by removing the cross-over. Hey, it’s underneath the bike so it’s not an eyesore and may help produce power.
The original plan called for home-made baffles using common household items such as stainless steel sink strainer baskets and stainless steel scrubbing pads. Then one evening while roaming around eBay, I found the 4″ Mini Muscle Baffle.
The Mini Muscle was described as NOS although I never heard of it. At $8.50 delivered, how could I go wrong? The baffles are designed to be installed by using a sheet metal screw or welded in.
The baffle didn’t disappoint. It’s made of heavy duty steel with a fiberglass lining held together by steel mesh. In other words, these things are solid, not junk, from what I can tell. The ad states “Legal decibel range.” It’s a straight-thru pipe so I’m not sure about that…but it’s a bobber. Who cares about legal?
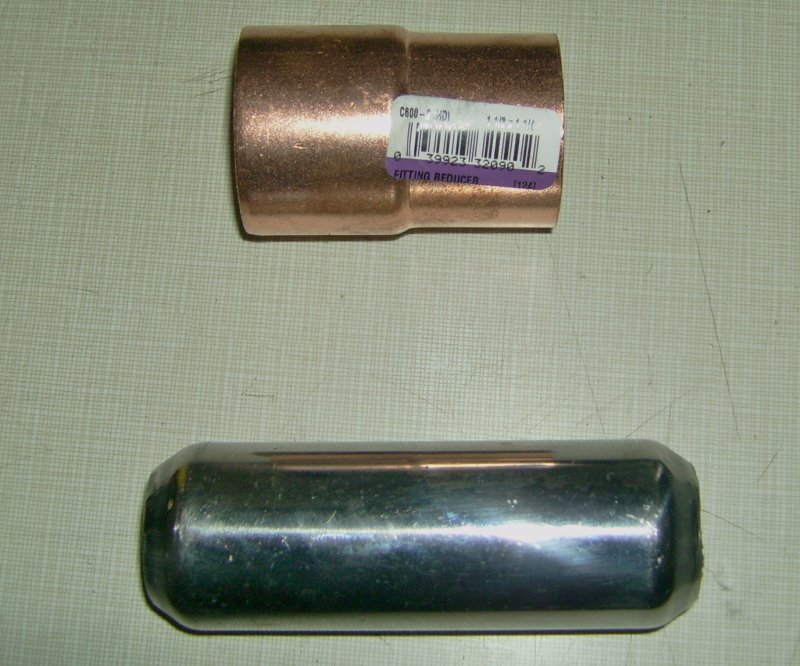
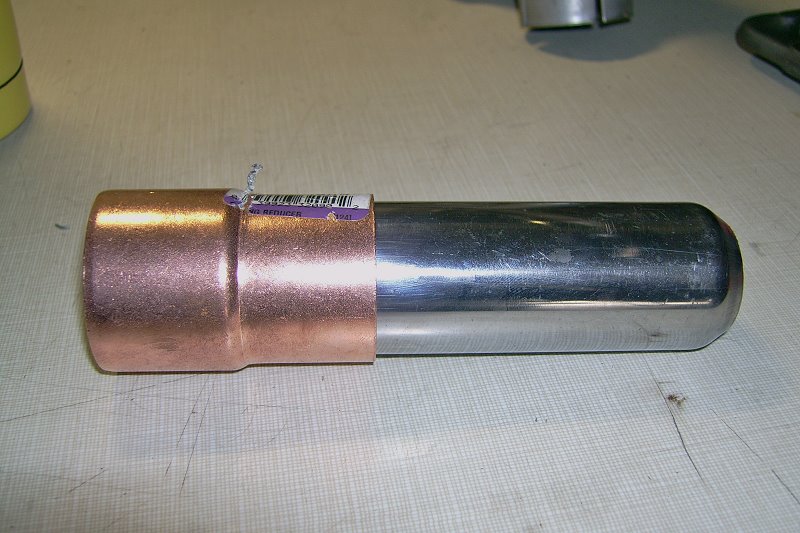
At the very tail of the system is the tail pipe. For some cool factor, it consists of 1-1/2 inch x 1-1/4 inch copper fitting reducer held in by a screw.
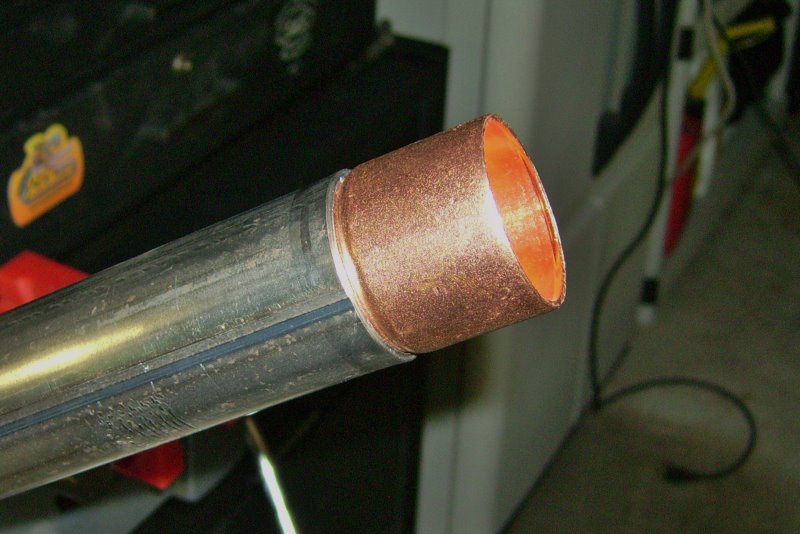
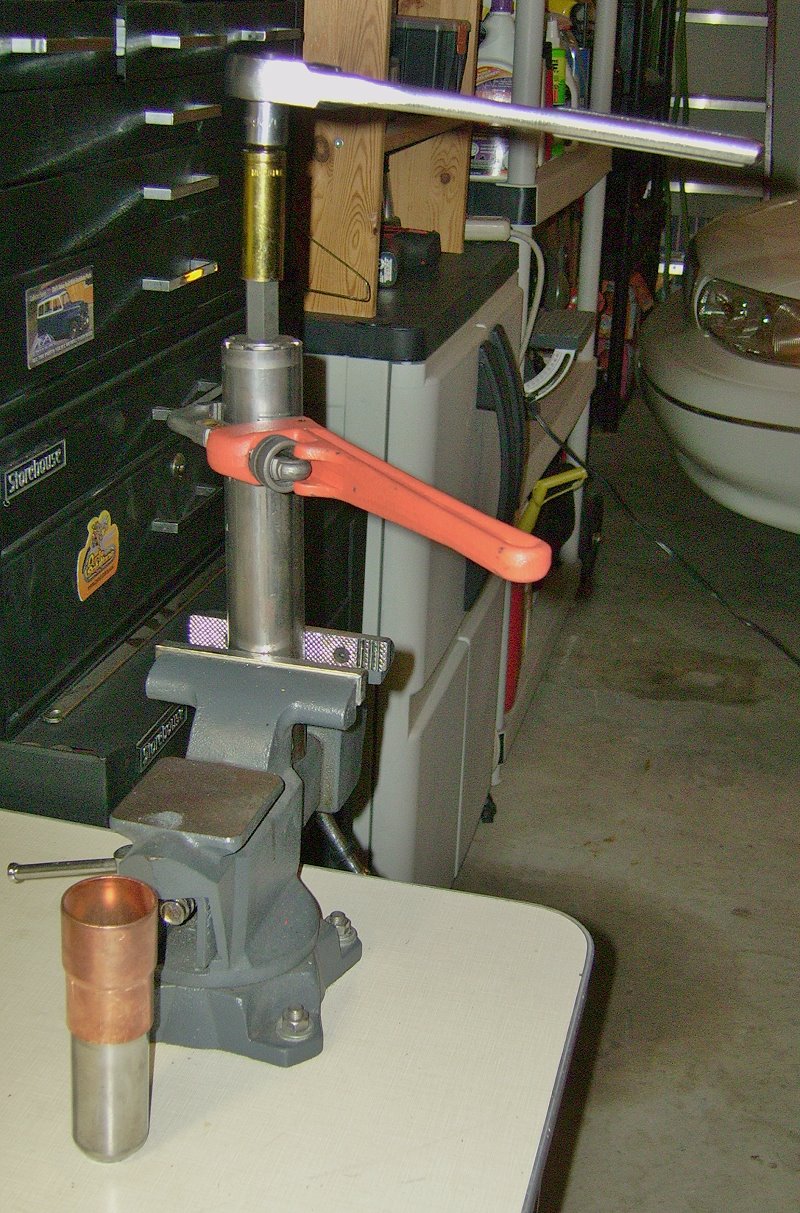
To fit everything together, the ends of the 9-inch pipe needed stretching with a small tailpipe expander, bench vise, ratchet with socket and a pipe wrench (see photo). The process is easy: put the 9” pipe in the bench vise, put the expander in the end of the pipe, put the ratchet/socket on the end of the expander and crank it. The pipe wrench is added to keep the pipe from turning in the bench vise and getting badly nicked up.
After the first expansion, I slightly turn the expander and crank it again. The reason that I do it like that is so the expanded section is perfectly circular or rounded. It produces a better and tighter fit on the other pieces.
With repairs and fitment taken care of, I can move on to the exterior appearance otherwise known as prep, primer, paint and installation. Stay tuned.
Next: Assembling an exhaust system (3 of 3)