
(This is the last of a three-part series on making a saddle. Here are parts 1 and 2.)
The upholstery
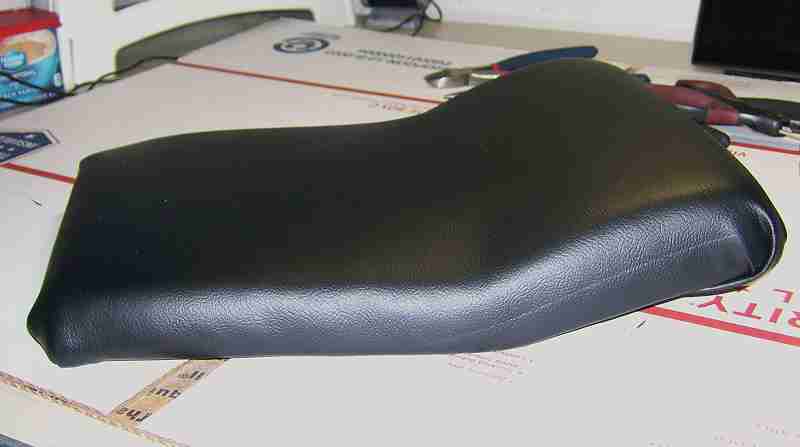
There are lots of different materials for covering the saddle. I’m using Waterproof Marine-Grade Vinyl, which is a popular starting point. For one thing, just look at the name…it’s waterproof! The fabric is 74% PVC and 26% polyester. From what I can tell, it should hold up against heavy use and bad weather. Amazon’s website said it would take a week or more to arrive but The Fabric Exchange got it to me within a few days. The vinyl has good reviews so I’ll give it a try.
The installation
The cover should be tight so it doesn’t move or wrinkle.
The first thing to do is fasten a small section of vinyl in the middle of the front and back of the saddle. Use a couple of fasteners at both the front and the back to hold it in place. Then, fasten a small section of vinyl in the middle of the left and right sides of the saddle. At this point, the saddle cover is fastened in the middle of the front, back, left side and right side.
 Now, pull and fasten the saddle cover along the sides moving from one side to the other side until both sides are completed. Keep the cover centered—don’t pull and fasten too much cover to one side.
Next, evenly stretch and fasten the back section and front section of the cover. It’s easier to get even tension now that most of the cover is fastened in place. Work from side to side to evenly distribute the cover tension. Check for loose and wrinkled spots. If they appear, remove a couple of fasteners, re-stretch and re-fasten it.
The corners
The saddle pan has four corners…four sharp corners. Sharp corner radii made things a little tricky, especially because I’m using spike/tack strips.
There’s a method for making “gathers” at the corners. The method works best when fastening with staples or rivets because there are more fasteners to work with at the corners. Basically, the cover is pulled, tucked and fastened in very small increments. The excess or overlapping fabric is gathered in between each of the many fasteners at the corners. This site gives an excellent explanation of making the gathers on the corners.
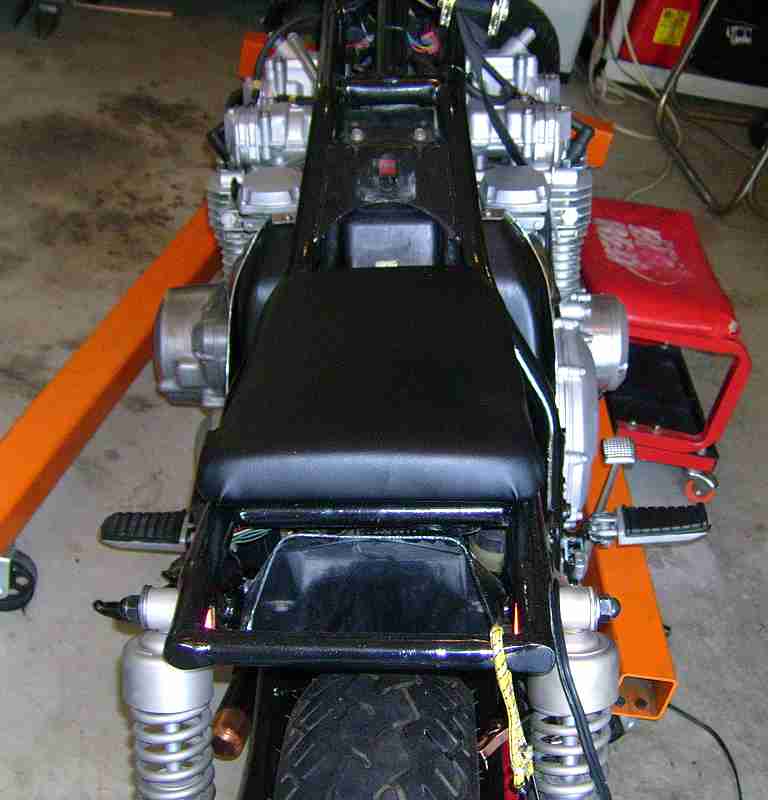
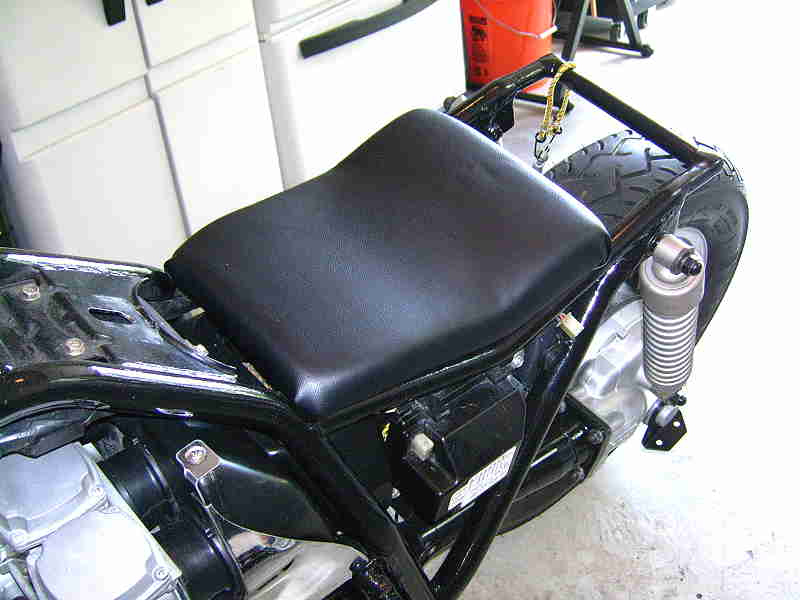
The fit
The ZN has a saddle again. It’s low profile and fits the frame of the bike. Building a saddle wasn’t as daunting as I originally thought and, while I’m somewhat satisfied with it, my next saddle will be better. There will be more foam and better foam. The spike strips won’t overlap and I may combine them with rivets at the corners. There were many lessons learned on this first one.
And, that’s about it for getting a little experience in saddle making. For now, I’ll put the vinyl away and get back to the nuts and the bolts.
Next: Added a bobber tail/brake light