
Getting the motor back into the frame consists of several steps. First, there’s degreasing the upper half of the motor—valve cover, cylinder head, block and crankcase. After scraping, brushing and blasting with Non-Chlorinated Brake Parts Cleaner to remove the heavy grease and grime, all these pieces took a dip in the heated parts washer. I didn’t know what to expect from the parts washer, but it’s generally not a good idea to expect miracles. With a parts washer, it all boils down to an affordable degreaser that works the best. I say again, an affordable degreaser. Filling a 20-gallon washer gets expensive real fast.
There are a lot of solvent/degreaser choices—a lot—even for water-based solvents that are used in the basement. In other words, it can’t be highly flammable or odorous. The choices run the gamut from Crown PSC 1000 to Electrasol Dishwasher Detergent and beyond. It’s incredible. So here are just a few solvents that I thought about:
- Crown PSC 1000
- Simple Green
- 13406 Aircraft Precision
- Extreme
- Pro HD
- Crystal
- Krud Kutter for Parts Washer at Tractor Supply
- Electrasol Dishwasher Detergent
- Comet
- Greased Lightning
- LA’s Totally Awesome All-Purpose Degreaser at Dollar Tree
- Harbor Freight Heavy Duty Degreaser (Yellow bottle)
- Mineral Spirits/Safer Paint Thinner
- B52 Degreaser
To make things more complicated, the solvent must be aluminum friendly. It would be a bad day to pull some nice aluminum part out of the parts washer only to find that the cleaner pitted the hell out of the aluminum. Yeah…not good.
In my never-ending, self-torturous journey of anxiety to avoid doing anything ‘half-assed,’ this is what I spent money on:
- Simple Green Extreme Motorsports Cleaner Degreaser
- Safe for aluminum, painted surfaces, metals, plastics, rubber and more
- Pre-clean parts before Parts Washer or Media Blast
- Simple Green Extreme Aircraft and Precision Cleaner
- Safe for aluminum, painted surfaces, metals, plastics, rubber and more
- Pre-clean parts before Parts Washer or Media Blast
- Harbor Freight Super Heavy Duty Degreaser, Yellow
- Parts Washer – 1 gallon degreaser with 11 gallons of water
- Dollar Tree LA’s Totally Awesome Cleaner
- Parts Washer – Add 64 oz. to Harbor Freight Degreaser and Water
- Bio-Kleen Aluma Kleen
- Brightens and seals aluminum after degreasing and cleaning
- Chrysler Combustion Chamber Cleaner
- For use on pistons and cylinder liners
- ZEP Industrial Purple Degreaser
- Not safe for aluminum, chrome, painted surfaces
- Concentrate needs to be diluted
- Purple Power Industrial Strength Cleaner Degreaser
- General degreaser
- Not safe for aluminum
Yes, I do believe I lost it…over cleaners. Incredible.
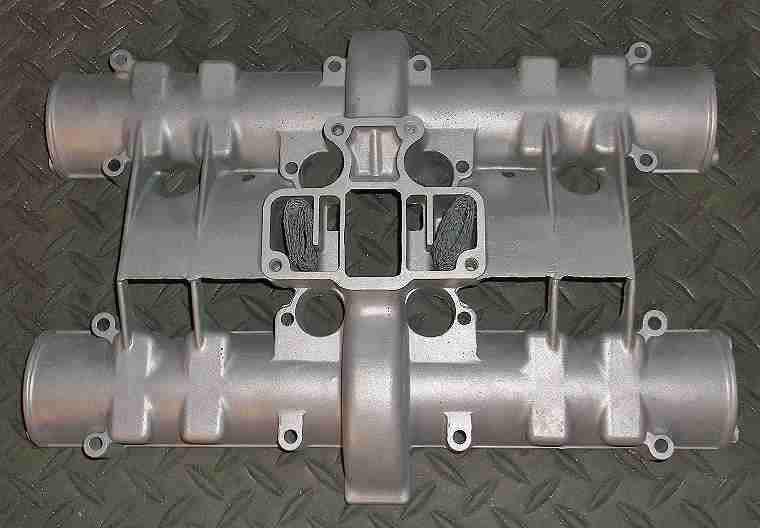
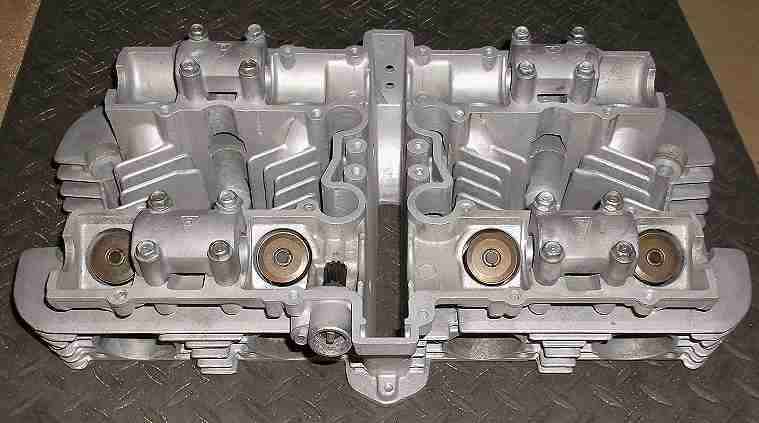
The next step—oh yeah, there’s a next step—is to media blast the parts after a thorough degreasing. For the most part, I like using glass beads (not crushed glass). The beads peen the material and give it a satin type of look and finish. The beads also close the material so that it won’t easily hold dirt and grime.
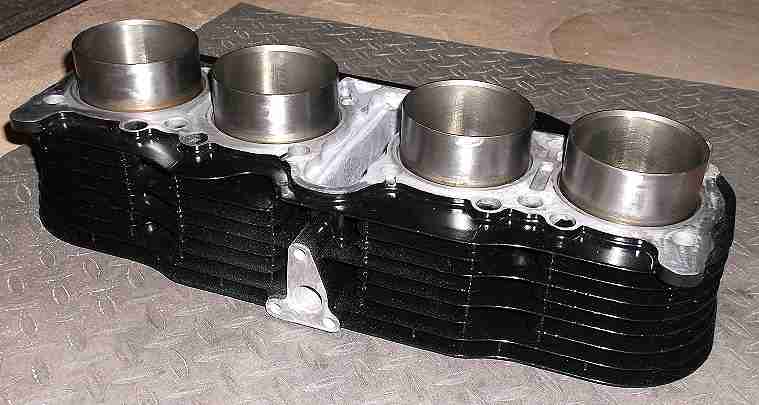
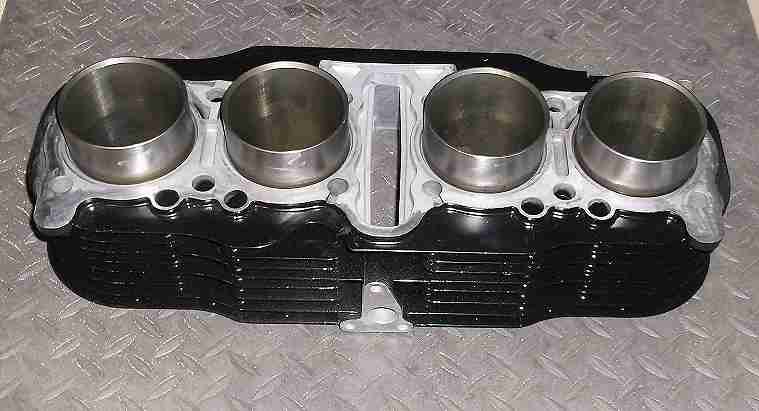
Now, that’s about it for the top half of the motor except for painting the cylinder block with high temperature gloss black paint.
Next up I’ll be doing the same for bottom half or crankcase. But first, the engine will be re-assembled.
After this motor is cleaned, blasted and re-assembled, it’ll be time to get with the ZN again. If everything goes well, there’s not much left to do (based on the amount of time, energy and money spent)!
Next: The crankcase