
Some things are simply meant to be difficult. Generally speaking, bleeding brakes isn’t that difficult. With a little experience and understanding about the mechanics, the process becomes straightforward. I won’t say bleeding brakes is easy, just because it can be messy and depending on the method, a little tedious.
Front brakes are difficult because, in most cases, the method to bleed the brakes means forcing air downward, which goes against nature. On top of that, dual front disc brakes are difficult because air gets pushed from left to right as one side is bled, then the other. This little game that air plays—bleed the left side and the air moves to the right side, bleed the right and air moves left—can go on for quite a spell and be frustrating (to say the least). Don’t ask me how I know.
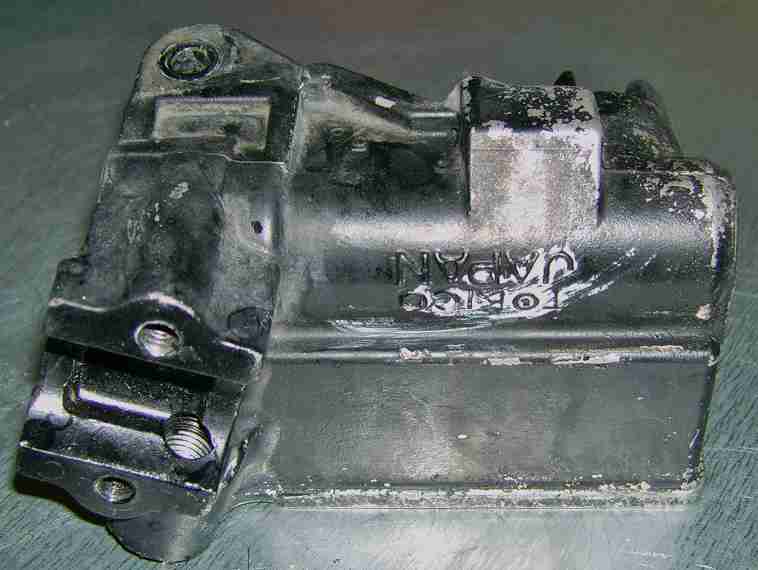
Time for a rebuild.

Front brakes are difficult because, in most cases, the method to bleed the brakes means forcing air downward, which is against nature. Dual front disc brakes are simply meant to be difficult because air gets pushed from left to right as one side is bled, then the other.
Here are a few methods that work with varying degrees of success. Sometimes, it’s helpful to combine two or more methods to get that firm feeling in the brake lever.
- The Basic Procedure:
- Put a clear hose on the caliper bleeder screw and put the other end in a jar.
- To replace the brake fluid, open the bleeder screw on the caliper and pump the lever until all the old fluid is pumped out and new fluid begins to flow. Constantly check the master cylinder fluid level and add more fluid as needed. Don’t let the master cylinder run dry and pump air into the system.
- To fill the brake lines and caliper with brake fluid, open the bleeder screw. Squeeze the brake lever and hold it. Now, close the bleeder screw and release the lever. Do this until the lines are full.
- To bleed the brakes of air, pump the brake lever several times, then hold it. Open the bleeder screw on the caliper, and brake fluid mixed with air will be expelled. Close the screw and pump the lever several times again, repeating the process until no air bubbles are in the brake fluid being expelled and the lever has a firm feel. Top off the master brake cylinder fluid level.
- Clean everything off with water to remove any brake fluid.
- The Basic Procedure II: Use a bleeder tool like the Motion Pro Hydraulic Brake Bleeder or the Mityvac or any number of other options.
- Dual Front Discs:
- More often than not, the basic procedure won’t work for reasons already mentioned.
- Time to break out some other methods and pump it up.
- Gravity Bleeding: Put the bike on its side stand. Turn the handle bars so that the master cylinder is a little higher than normal. Pull the brake lever all the way in and secure it with a zip tie, rubber band or whatever. Leave the bike sit overnight. This method allows the air bubbles to rise through the brake lines and exit at the master cylinder. This is a favorite of mine for two reasons. First, it doesn’t make me do the work. And second, it almost always works.
- Reverse Bleeding:
- Get a 60cc syringe and a 6″ piece of clear plastic tubing to fit the tip of the syringe and the bleeder screw. Attach the tubing to the syringe. Tightening a small zip ties around the hose/screw will make sure it’s airtight.
- After draining the system, remove the bleeder screws and wrap the threads with plumbers tape.
- Fill the syringe with new brake fluid. Flip the syringe/hose so the tube points up; press syringe piston to expel the air and completely fill the tube with brake fluid. Push the tube over the bleeder screw. Hold the syringe above the brake caliper so remaining air can rise to the syringe.
- Loosen the bleeder screw and slowly inject fluid into the system until you see the fresh fluid entering in the master cylinder.
- Trick of the Trade: Without tightening the bleeder screw, pump the lever to push fluid back into the syringe. Alternate between injecting fluid and pushing it back out with the brake lever. Tap the brake line to dislodge air bubbles. Pump back and forth a few more times, then tighten the bleeder screw.
- Install the lid on the master cylinder reservoir. Clean everything off with water.
- Manually Priming the System: If the system was drained, it needs priming.
- Method I: While the caliper is in hand, before attaching the line to it and ready to put it back on the bike, position the caliper so that the line hole is facing up. Use a syringe or eye dropper or something similar to get as much brake fluid in the caliper as possible. When as much as air as possible is out and as much fluid as possible is in, re-attach the line while the hole is still facing up.
- Method II: Fill the master cylinder with brake fluid. Completely remove the caliper bleeder screw(s) and let fresh brake fluid drain from the master cylinder through the brake lines. When it starts drooling out the bleeder screw holes, install the bleeder screws. The system should be primed.
- An Internet Method: On dual front calipers, clamp one line just below the union and bleed the other side. Then, clamp off the other side just below the union and bleed that caliper. Well…I don’t think so. Any kind of crimping, clamping or crushing brake lines doesn’t sound good to me. Don’t try this!
- After trying all of the above (except number 7 of course) several times, I couldn’t get a firm brake lever. Since the entire system was taken apart and rebuilt, I figured that air was trapped in the caliper behind the piston. So after getting as much air out as possible using the above methods, I tightened the bleeder screws, banjo bolts and the master cylinder cap. Then, I removed the calipers from their mounts and, while holding the caliper upside down, pushed the pistons into the caliper using a C-clamp. Then, I pumped the brake lever to move the pistons back out. The process was repeated several times on both calipers. Finally, I lightly tapped the fittings with a soft mallet to jar loose any remaining air bubbles and let things use gravity feeding overnight.
A few closing thoughts. Bleeding the front dual discs took quite a while and required lots of patience. Forgetting about it and letting it sit overnight was a good thing. A 1984 front brake lever isn’t going to feel rock hard like a new/modern bike. Last thought…even after lots of effort, the brakes may still be spongy. This can be from old brake lines that are expanding a bit…the fix for old brake lines is new brake lines.
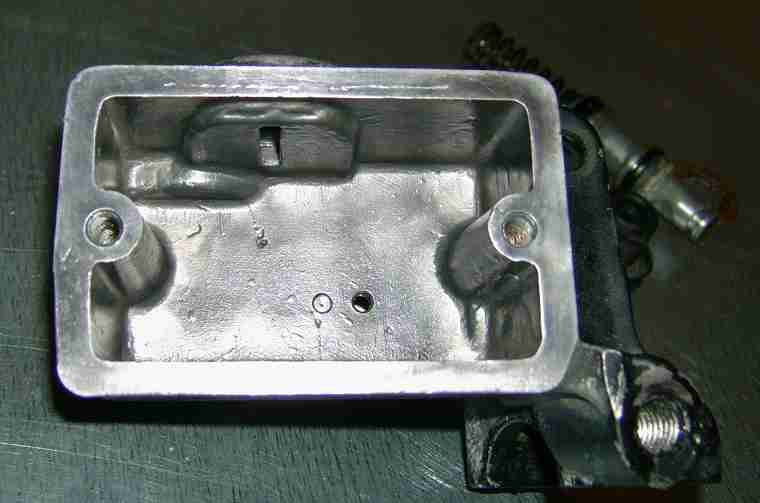
Master cylinder looking much better.
Next: Mounting instruments or gauges