
I really don’t like to tempt fate or put a jinx on the works but…the comedy of errors involving cylinder #2 is over. Since retrieving the lost shim and fixing the broken cam cap, I’ve been busy buttoning up odds and ends. These small jobs involve removing engine covers, removing all gasket material, sandblasting the covers, and installing the covers along with the gaskets.
The first one isn’t actually a cover. It’s a pan, an oil pan. The same oil pan that was removed to find the lost shim. I mentioned this job in the last post and here I’ll just mention two things. First, the shop crane paid for itself when doing this job. I could only imagine what a pain in the neck this would have been without the crane. Exposing the bike’s underbelly at a height where I could roll under it while sitting on a stool, especially to remove the old gasket, was a great help.
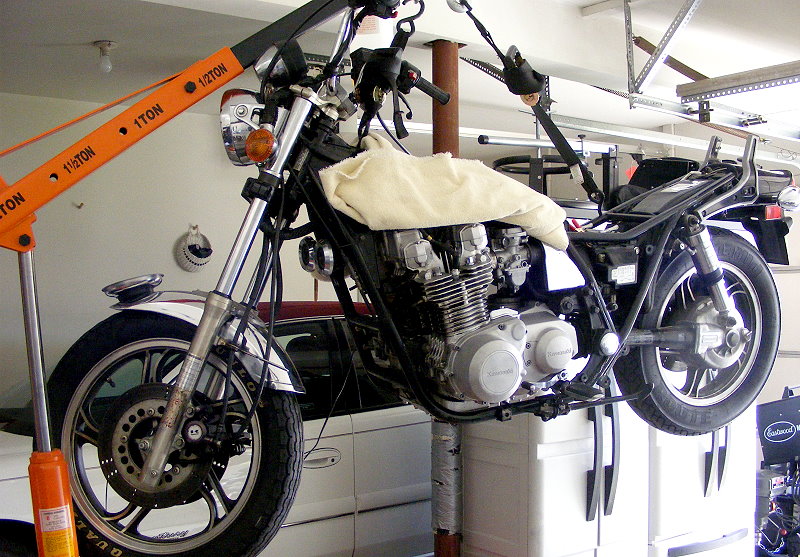
The other thing worth mentioning is the importance of removing all old gasket material and keeping the mating surface free of damage. I took my time and triple-checked everything before installing the new gasket and oil pan. I don’t want to do this small job again, if I can help it. Leaking oil ain’t no joke. Well, that’s not exactly true. There are hundreds of Harley-Davidson jokes about leaking oil. No H-D oil jokes here…no tempting fate, no jinxes. Thank you very much.
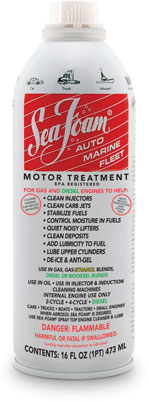 While looking through the bike internals, the amount of dirt in the old oil caught my eye. The bike’s exterior is fairly good for being 30 or 31 years old and with 30,000 miles on the odometer. Definitely not beaten up or wrecked. I’m not sure why then there’s so much dirt/sludge. Well, yeah I do know why it’s there. It just doesn’t coincide with the looks of the bike. So, some Sea Foam Motor Treatment is in order for the crankcase. The Sea Foam website talks about using Sea Foam as a pre-service cleaner and as an after-service additive. Since the ZN will be getting fresh oil soon, I’ll follow the after-service method to re-liquefy the old oil residue.
Another small job worth mentioning is fixing the oil leak at the left side engine cover that houses the stator. Three wires from the stator run through a grommet in the stator cover. These grommets leak when they get old and lose elasticity. The ZN’s grommet was hard as a rock. Instead of replacing it, the previous owner slathered the area with some red silicone and called it good. There’s no telling how long ago that application was done, but it’s not working today. To do the job right, the alternator and front bevel covers must be removed. Then, the three wires (going to the shift drum for the green idiot light, the oil pressure switch and the ignition kill switch) must be cut to be routed through a new grommet. By placing the re-connected wires behind the front bevel cover, it keeps the heat of the motor off the wires. That’s a good thing. After installing the new grommet with Hi-Temp RTV gasket maker to seal it, the cover is good to go again.

Just one more cover to media blast and affix with a new gasket. It’s the clutch cover on the right side. The gaskets were being purchased from my main vendors at prices that are competitive, meaning every other vendor is selling the gasket for about the same price. Early in this project, I stopped checking eBay for parts. I wasn’t finding much for the ZN. For some unknown reason, this time I decided to check eBay for the clutch cover gasket, and I hit pay dirt at a third of the price. Looks like it’s back to checking eBay when I need a part.
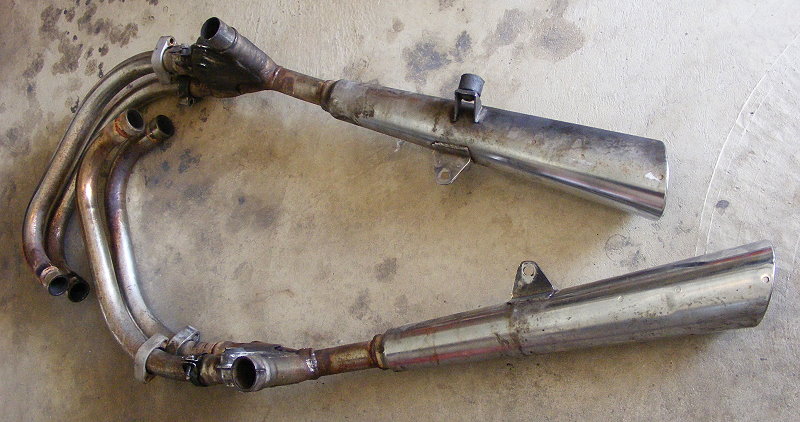
With the cover having gone through the sandblaster and re-installed with the new gasket, I can start on a bigger job, the exhaust system (below). The exhaust job has cleared the drawing-board stage and supplies have been bought. This part of the project will require me to fire up the welder and learn. More on the exhaust coming soon.
Next: What to do?