
(This is the second part of a three-part series on making a saddle. Here is part 1.)
After smoothly gliding over a few bumps in the road, it’s back to building my first saddle. I’m not very artistic, creative, imaginative or inventive…which doesn’t sound inspiring when it comes to creating a saddle from raw materials. Needless to say, I sort of dreaded this particular aspect of the project.
When using spring clips, it was necessary to keep the saddle pan larger than normal. The clips needed extra installation space to fit around the frame rails. Now that the clips have been deep-sixed, the saddle pan was trimmed down to fit.
The hardware
Depending on the saddle pan material, there are several ways to attach the cover to the pan—rivets, glue, staples, screws and whatever. Back in the day, saddle covers were attached over small prongs which were part of the pan.
As mentioned in No need to reinvent the saddle (part 1), I used spike strips riveted into the pan. There’s a video showing installation the spikes. It’s the only one that I could find, although I didn’t spend a lot of time searching. The video showed the spike strips being drilled and riveted through the cut-outs made for the spikes. I don’t believe that’s optimum. It’s better to drill and rivet the space between the spikes. The rivet holds better and the spikes can then lay into their cut outs.
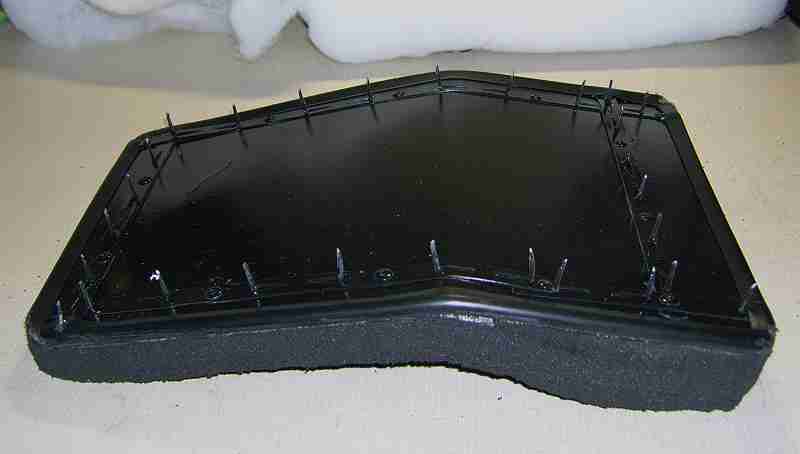
The spike strips aren’t a bad way to go. I’ll consider using them next time too. One thing that I learned is to not over-engineer it. In a slightly misguided effort to make sure the strips were secure, I overlapped them at the corners. I was totally unnecessary and just created some difficulty when edging the pan. Instead of applying the edging around the perimeter, I was working the edging around spike strips and rivets at the corners.
The edge
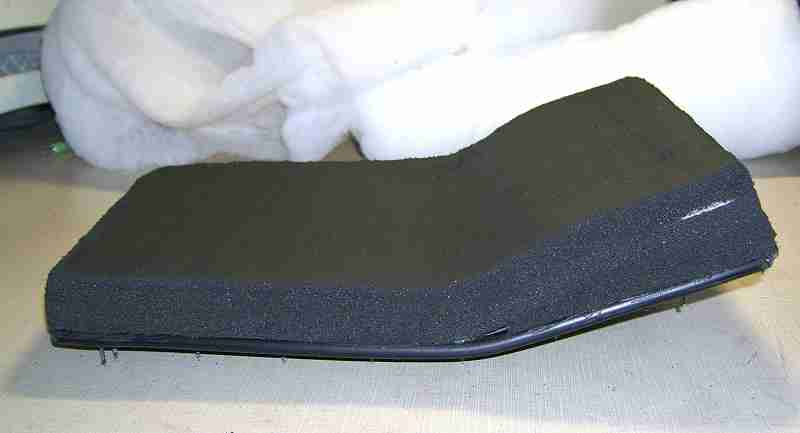
Without a soft edge, the steel pan will wear through the saddle cover. So the first thing to do is to round off or blunt the edge of the saddle pan. The next thing to do is install an edging on the steel pan to protect the cover.
I like using materials that are easy-to-find as long as they work well. Here, vinyl car door-edge molding does the job. It’s sold in nearly every auto parts store. I picked up this door-edge molding in an 8-foot section for $8.99 at the local AutoZone.
Not all door-edge molding is flexible or self-adhesive. The best stuff to use is self-adhesive, soft as rubber and has a small profile. The author of the handbook states that sometimes the adhesive is dried out on the ends so make it a habit to cut off about half an inch of material on each end.
A couple pieces of advice from the handbook that I forgot, which would have been useful, are to 1) make long diagonal cuts when making a splice and, 2) if the molding buckles in tight curves or at splices, then cut thin strips of duct tape to hold it in place.
The protection
Now that the cover hardware and edging is in place, it’s a good idea to add protectant to the pan. A padded and covered saddle pan will hide rust that will happen without some type of prevention. For my pan, Rustoleum Clean Metal Primer and Rustoleum Professional High-Performance Enamel Spray were applied to protect it. A popular knock against Rustoleum is that it takes a while to dry/cure. I don’t mind the cure time because the durability of cured Professional enamel is superb.
The foam
According to the handbook, first timers tend to under-pad the pan to keep a sleek thin profile. That statement is probably true and I can see how that would happen. Without experience working on foam, it’s difficult to know how much the upholstery will compress the foam.
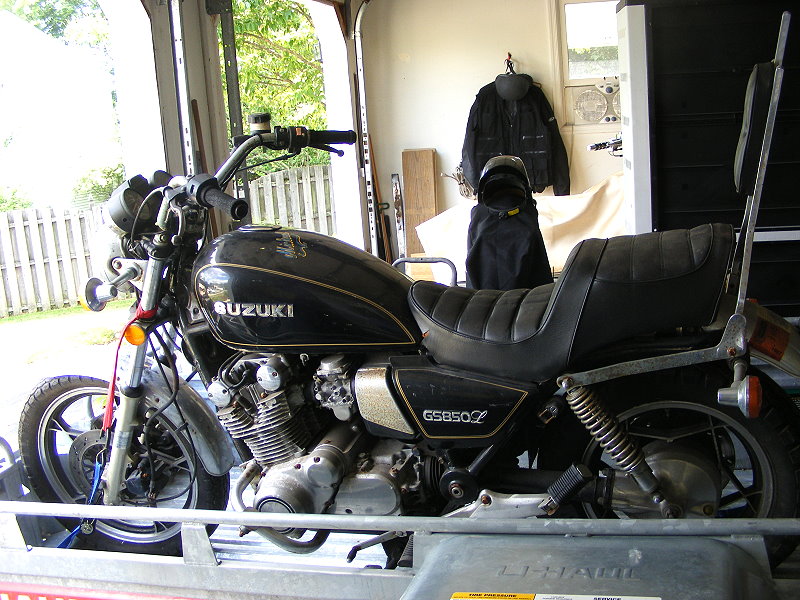
I purchased this 100% Polyurethane Multipurpose Foam and thought it would make a good top layer. Maybe it would, maybe it wouldn’t. In the long run, I didn’t use it. To me, the Multipurpose Foam was too difficult to work. It’s too thick and soft without adding much in the way comfort, at least for a first timer. However, I may try it on my next saddle, a 1981 Suzuki GS850L.
What’s needed is closed-cell polyurethane foam. It can be purchased in many different densities/softness and thickness. Some sleeping bag pads and exercise pads are viable and an inexpensive options. I used an Everlast exercise mat made of 3/8″ high-density foam and simply glued layers together to make the base/foundation.
My tools of choice to work with the exercise mat were a dovetail hand saw, a pair of scissors and a Dremel tool with sanding drum. A serrated bread knife can be used instead of the dovetail saw, but the saw worked better for me.
Using the original pan template, I traced an outline on the foam and, using scissors, cut the pieces from the foam – sized just slightly larger than the pan.
To laminate the foam pieces, I used 3M Super 77 Multi-Purpose Spray Adhesive. The easy-to-use directions are on the can. The foam was dry and workable in about 30 minutes.
A few things about the adhesive. The overspray gets everywhere. I used a box as a booth to help keep the mess in place. Second, the stuff sticks together with the slightest contact. So, alignment is crucial. Finally, it’s a good idea to cut the pieces a little larger than needed. That way if alignment is off by a little, then the edges can be trimmed down with scissors to bring everything back in line.
Closed-cell foam can be easily shaped. I shaped the multipurpose foam with my angle grinder. With a little practice, I think a lot could be done with it but it would need to be denser and not as thick. While using closed-cell foam is very forgiving of even the biggest mistakes, using the wrong foam will create a nightmare.
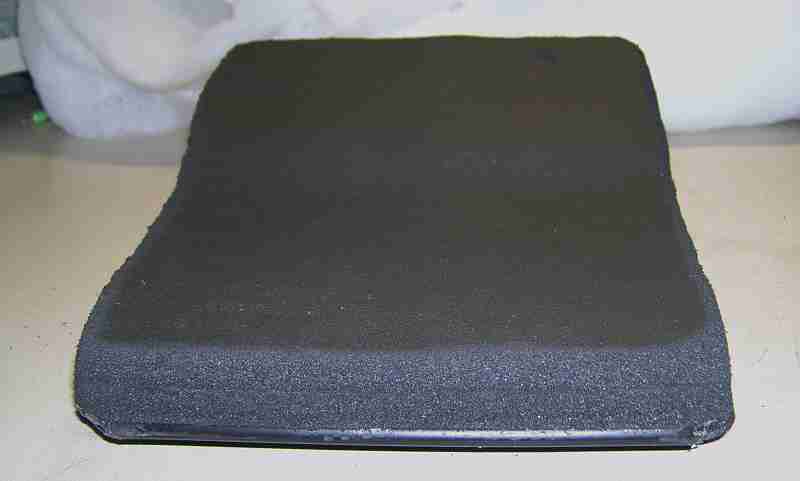
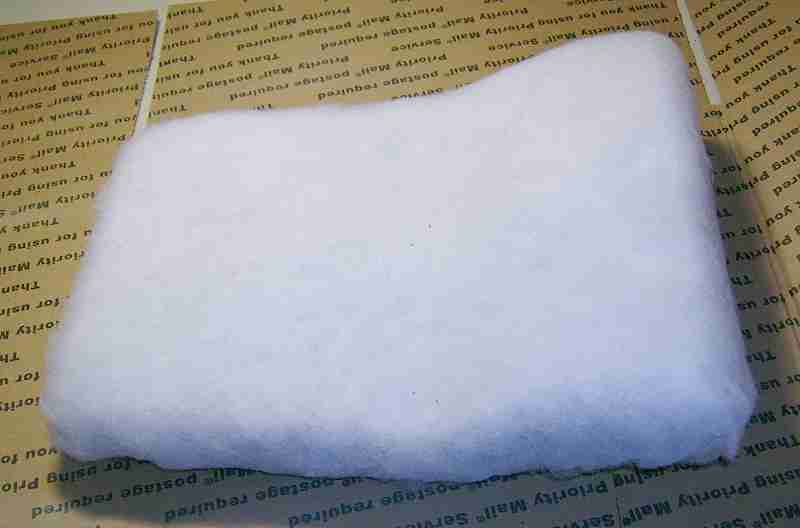 To finish the foundation, I added several layers of low-loft batting (right). I found polyester batting at the local Jo-Ann Fabric and Craft Store. It was then cut to shape and glued on just like the foam.
That’s it for the foundation. A few observations are good for posterity at this point. First and foremost, don’t skimp on the quality of the foam. Good foam will make all the difference when building a saddle. It’ll be easier to cut and shape in addition to being more comfortable. Next, use more foam. Use more foam than looks necessary. Excess can always be removed and shaped, especially good closed-cell foam that’s made to be easily shaped. Lastly, I’m paraphrasing the handbook in these posts. By doing that, a lot of information and tips are being left out. With that said, on to the cover!
Next: Building a bobber-style saddle (3 of 3)