
Here’s the last of three posts on the exhaust system. This post deals mainly with painting something that can produce over 1,000 degrees Fahrenheit. I’m painting the whole system—header pipes, collectors, cross-over and tail pipes. So, I’m getting straight to it, no rambling on, just the facts so I can stop being Exhausted.
Materials:
- Gasoline, Simple Green
- Angle Grinder
- Sandblaster Discs – Heavy, Medium, Fine
- Duplicolor Prep Spray
- Carb and Choke Cleaner
- Paint Booth
- Primer – Rust-Oleum Automotive High Heat Primer – Gray
- Paint – Rust-Oleum Specialty Ultra High Heat – Black
- Permatex High-Temp Red RTV Silicone Gasket
- Exhaust Gaskets
Step 1: Getting the surface just right
- Remove Dirt and Grease: Before working on the exhaust, I clean the exterior of it real good. The exhaust can be real dirty so I broke out the heavy duty cleaner—gasoline. It works and it works fast. After the gasoline treatment, it gets a Simple Green bath.
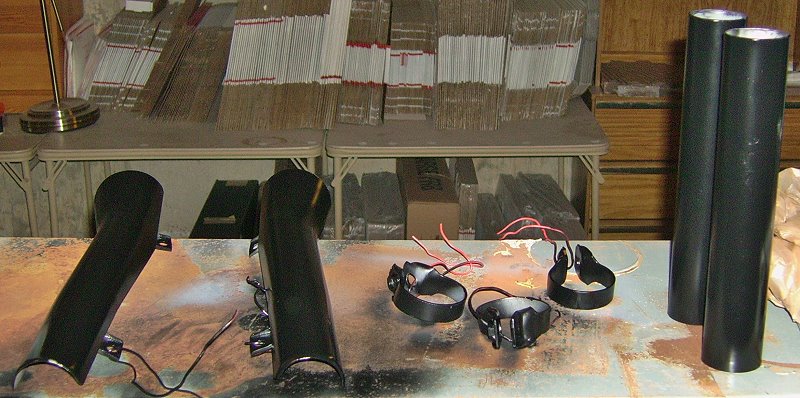
-
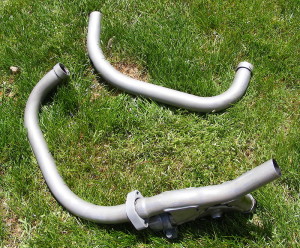
Half of the exhaust, after sandblasting Remove the Old Finish and Rust: My sand blasting cabinet can really pay off at times. This was one of those times. With an aggressive media (Jet Mag) and high pressure, the chrome plating was gone and the bare metal of the exhaust was looking right at me in no time.
- If I didn’t have a cabinet, I’d have gone with the previously mentioned Sandblaster Discs and maybe a Flap Wheel in an angle grinder to grind off the old chrome finish.
- Smoothing Out the Pipes: The pipes are old and, while they carry their age well, they can benefit from meeting a Medium Grit and Fine Grit Sandblaster Disc. I’m not interested in working out every wrinkle, scratch, ding, dent or whatever. I just want to remove the more noticeable imperfections.
- Roughing Up the Pipes: The primer needs a rough surface with bite. Back into the sandblaster for a quick session.

Step 2: More preparation
- When it comes to painting, a wise man once said “Good quality preparation is a MUST.”
- To clear out excess carbon build up, I sprayed carb and choke cleaner into the pipes. Again, I’m not interested in making the pipes pristine and new.
- Next, a good soap and water bath to get off the heavy dirt, dust and junk.
- The nice warm bath is followed by a good cleaning with a grease and wax removing agent—Duplicolor Prep Spray, Brake Cleaner, Acetone, Mineral Spirits, Rubbing Alcohol, whatever is on hand.
Step 3: Paint booth
Okay, this really isn’t a step but these posts are meant to chronicle the build. Let me first back up to painting the tank and side covers. At the time, it was cold outdoors, not cool but cold. Not be best time to be painting. In an effort to keep things moving, I made a paint booth out of cardboard boxes, put it in the basement and started blasting orange paint. There’s still an overspray shadow of orange on the concrete floor. The rest of the overspray was cleaned up off the shelves, tables, television, etc. The paint fumes have since dissipated but they were more than noticeable throughout the house.
Jump forward in time to the present and time to paint the exhaust. It’s warmer—actually crazy hot for May—so the right thing to do is paint in the garage. The vehicles can be moved out and the overspray will get on the concrete floor (again) and my tools. Well, I didn’t care for that scenario and, once again, tried to figure out a better paint booth set up without spending a lot of time, effort or money.
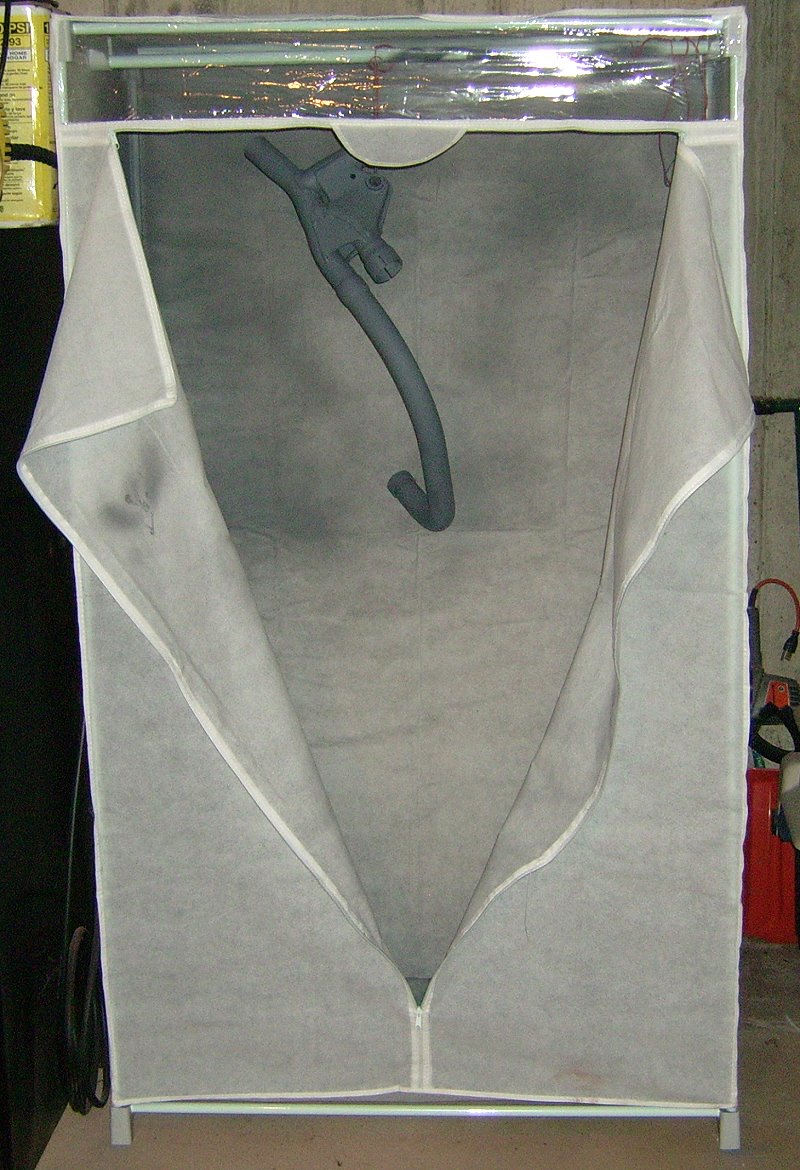
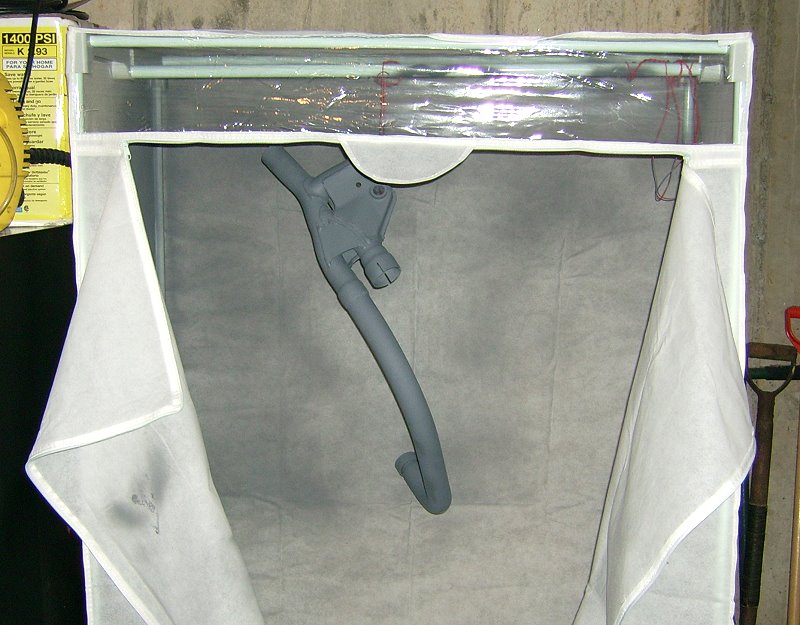
That’s when I ran into a post by a woman who does crafts, including painting, and she was in the same boat as me…looking for a cheap paint booth. Her story is this. She was driving down the road one day and found, at the side of the road, a plastic clothes wardrobe. She stopped and picked it up to take home when she realized it would convert into a paint booth. Now that’s a pretty good idea, said I.
After some looking around, I bought my own paint booth from Amazon (right) and will say that it worked pretty well. The amount of overspray dust on the floor was a mere fraction of my previous painting (ad)venture. Much of the overspray, especially in the bottom, held by the booth was easily vacuumed and disposed of. Next time I plan to incorporate a shop vac hose into the equation and pull out the airborne overspray.
I couldn’t go wrong for $20. It’s 36 inches wide with a heavy-duty steel rod to hang items while painting. The top and bottom are breathable, lightweight cloth. A plastic top and bottom might be better but it didn’t make any difference in retaining the overspray. It also has a peek-through window and zipper closures. With a few little adjustments, this booth could work well even when painting a fuel tank.
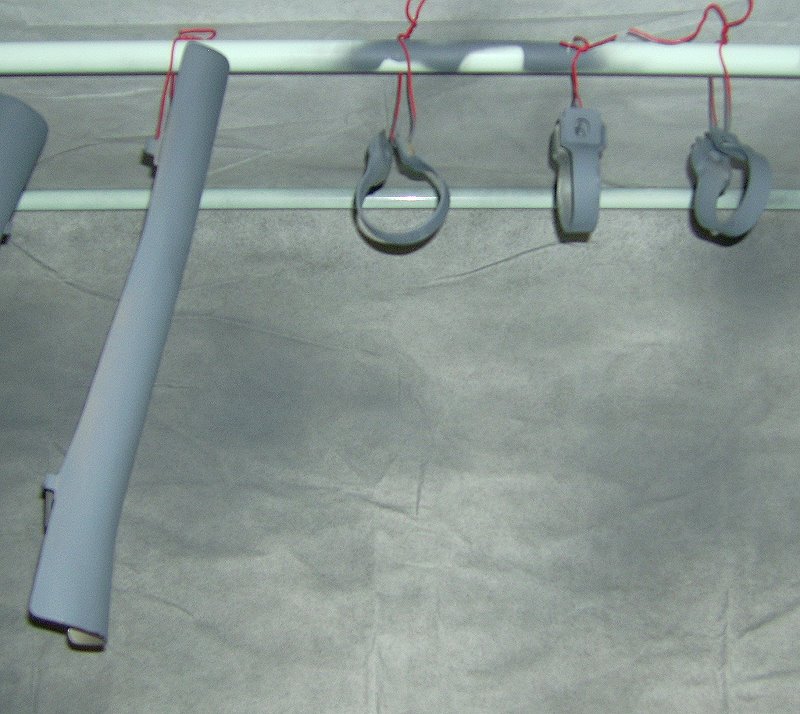
Step 4: Primer
- After the prep work is done, it’s time to spray the high-temp flat grey primer.
- This stuff is supposed to bond to bare metal, like an etching or epoxy primer, and help “create a smooth top coat finish” which is good.
- I liked the speed with which the primer dried. It was very fast and, most importantly, prevents rust while resisting heat up to 2000°F. If my headers are getting that hot, then they’re cherry red and the motor is in some serious trouble.
- As with all paint and primer, follow the directions on the can.
Step 5: Paint
- I never thought I’d use all Rust-Oleum paint to this point on the bobber. But, all my research keeps taking me there. It just seems to keep fitting my needs and that’s why I’m using it on the exhaust. The primer and paint seems to be spot on for exhaust systems.
- Plus, I’ve read you can’t find glossy exhaust paint. High temp is always a matte finish. Well, this stuff is glossy…and I like that.
- The thing about Rust-Oleum is it’s easy to find. If there’s a scratch or a nick that needs covering, I’m certain to have no trouble finding the paint. When painting tanks or side covers or fenders, I’ll pay extra for epoxy primer and use Rust-Oleum on top of it. The Professional series is very good, in my opinion.
- I sprayed about three thin coats of paint. The paint laid down nicely and dried fast. Unlike the ‘normal’ Rust-Oleum paint, this stuff seemed to harden much faster too. I didn’t notice any major user errors either. Definitely good for an exhaust.
- Again, follow the directions on the can.
Step 6: Install the exhaust and cure the finish
- Reassemble the pipes. It’s always advisable to use new exhaust gaskets. This bike takes four crush gaskets at the head and three gaskets where the pipes join. New helps to close off exhaust leaks better than recycled. The gaskets in this bike could be thirty years old. I have no idea but they looked mighty ragged at the cross-over. As with primer, I don’t skimp with gaskets.
- To seal the joints at the collectors, cross-over and tail pipes, I use Permatex High-Temp Red.
- With everything cinched up and attached to the bike it’s time to cure the finish. There are several ways to do this. If the paint can doesn’t specify, then a good idea is to:
- Start the bike and idle for about 10 minutes, allow pipes to cool down naturally.
- Start the bike again and idle for 20 minutes, allow pipes to cool down naturally.
- Operate the bike normally for 30 minutes and allow pipes to cool off.
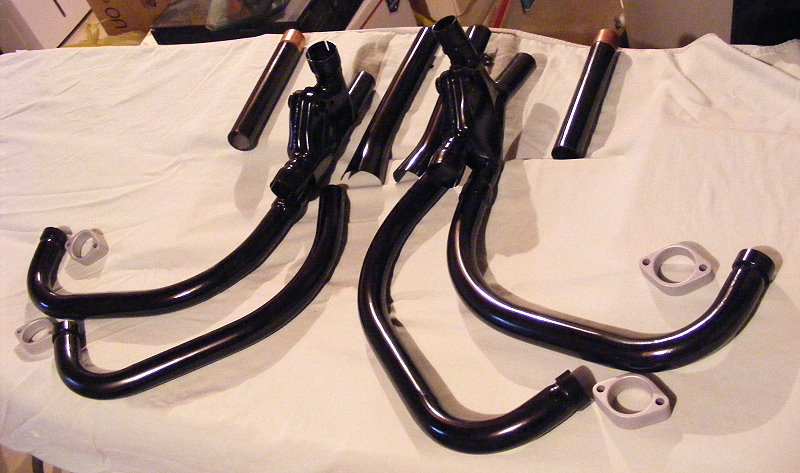
These good looking pipes will be installed after a few more maintenance items are completed. I have to get the soda blaster running and do the motor while the pipes are off so I’m not blasting new paint. After the soda blasting is finished and the pipes are on the bike, then it’s déjà vu all over again…time to start it.

Next: Bobbing the tail