
Yeah, not so fast.
Man, it’s been a rainy summer. Weekly forecasts forever show showers every day of the week. Granted, the showers don’t normally last all day but still there’s been a lot of rain.
Anyway, here’s how it goes. A couple steps forward followed by a couple steps backward.
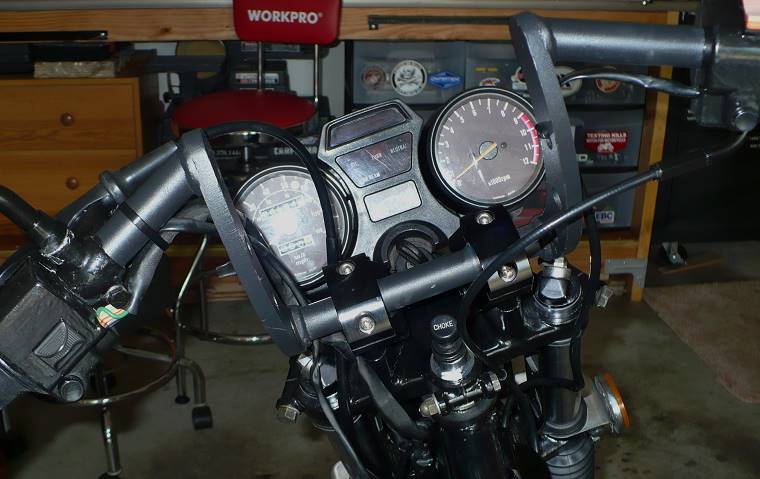
 The wire harness and instrument gauges are installed after receiving the wrong coils. The carbs are finally and completely installed after working through a new and faulty throttle cable.
The paint was coming along nicely until the clear decided to delaminate. Delamination is what you see on American made cars with cheap paint jobs (which is just about all of them). The paint or clear coat simply peels off the vehicle.
I’ve read about delamination on new paint jobs but never experienced it. Like many others, I don’t relish laying down clear coat. It seems to ruin a perfectly nice paint job.
 This time was going to be different because the interweb unlocked a secret…MinWax High Gloss Polyurethane! I used it before (on wood products) and it lays down flat. It’s gasoline resistant so no cloudy clear coat because I got sloppy at the pumping station. Perfect.
So under advisement of the internet, I sprayed poly on top of my paint scheme. Wow, we were right! It looked great, except for orange peel above the skull head but that can be polished out with no problem. Not so fast…
In an effort to get rid of a small patch of orange peel (which everyone gets, even pros), I proceeded to burn through the poly and right into the metal flake. That’s a problem cuz it’s impossible to sand metal flake.
But hey, notwithstanding the burn-through, my skills are getting better. I can fix this if I concentrate and take my time. Not so fast…
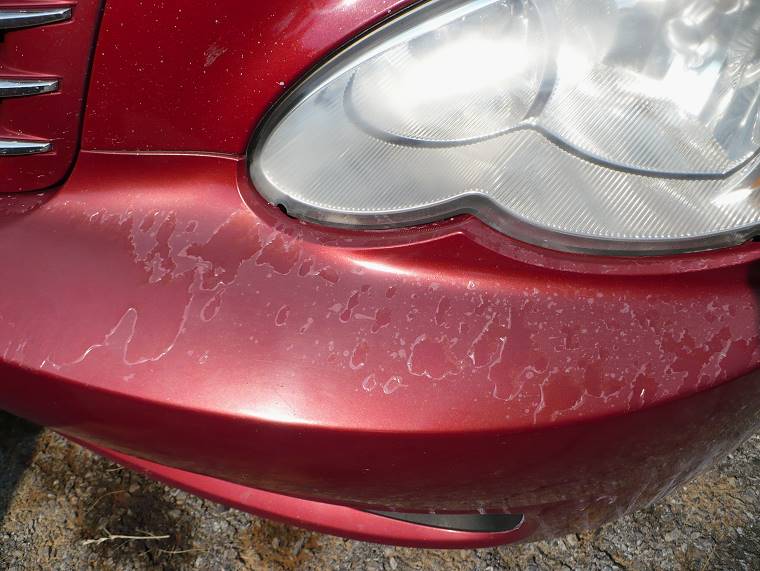
Why is there a cloud in the clear coat next to the burn through? Surprise surprise! It’s not a cloud. It’s the clear coat lifting clean off the paint as I pulled painters’ tape from the tank. No, not kidding.
Painters’ tape pulled up the clear coat. So I applied painters’ tape to the entire tank, lifted and peeled every inch of clear coat from the tank. And back to square one with the paint…yeah, I hate painting clear coat.
Next step backward…the wiring is finished except for things like turn signals and tail light. The bike is wired and ready to be fired. To be honest, electrics make me nervous, like painting clear coat. But after getting the courage up, I wired in the new battery and hit the start button. It will be like magic hearing the motor bump over! Not so fast.
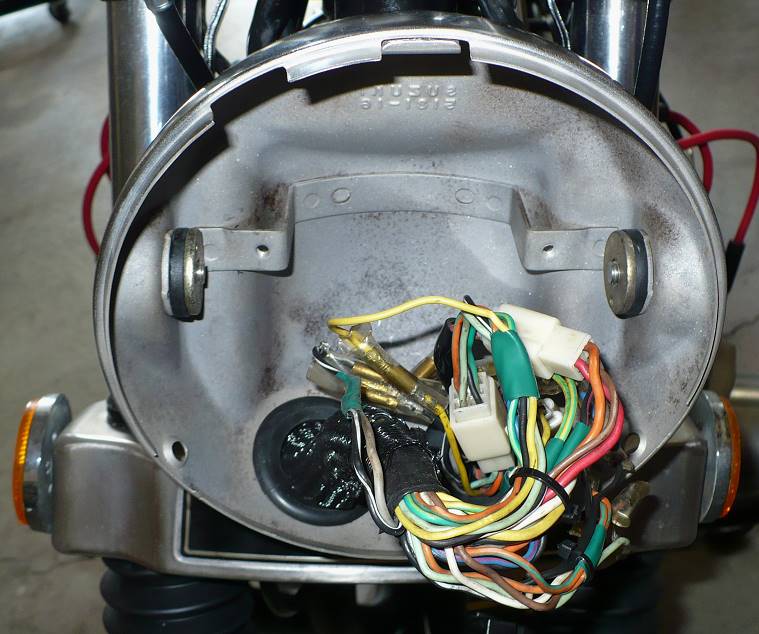
The bike is dead. No horn, nothing at the starter, no instrument lights…nothing, nada, kaput. Calm down, it’s just a blown fuse.
New fuse and there’s the horn and the lights on the instrument panel. But what’s that weird whirring sound? Oh that…that’s just a freewheeling starter motor.
So besides this…
- Re-paint the tank and side covers
- Balance and tune the carbs
- Finish installing the headlight
- Fix the starter motor
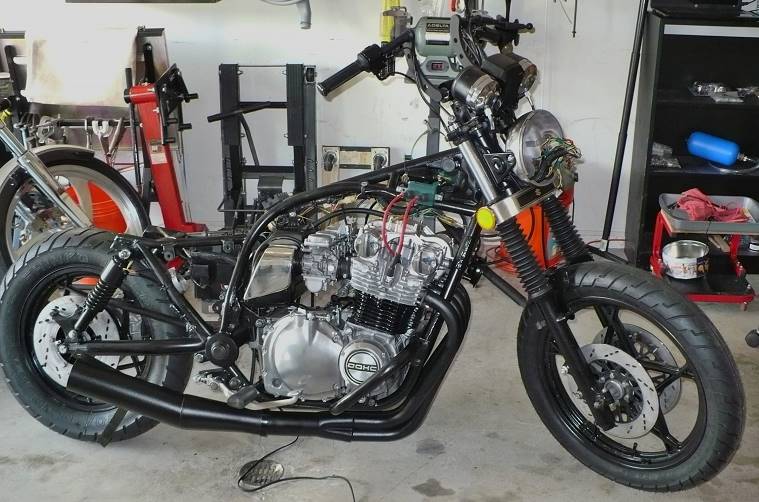
- Fabricate the seat mount (btw: I have a very nice LaRosa saddle for this bike, see below)
- Paint and mount the rear fender
- Install the lights
…I’ll have to look into the starter motor.
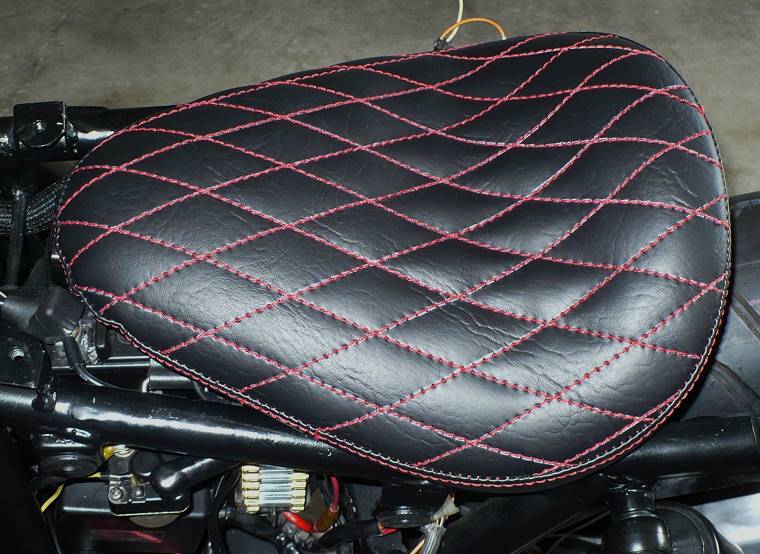
Here’s a profile pic with saddle for now.
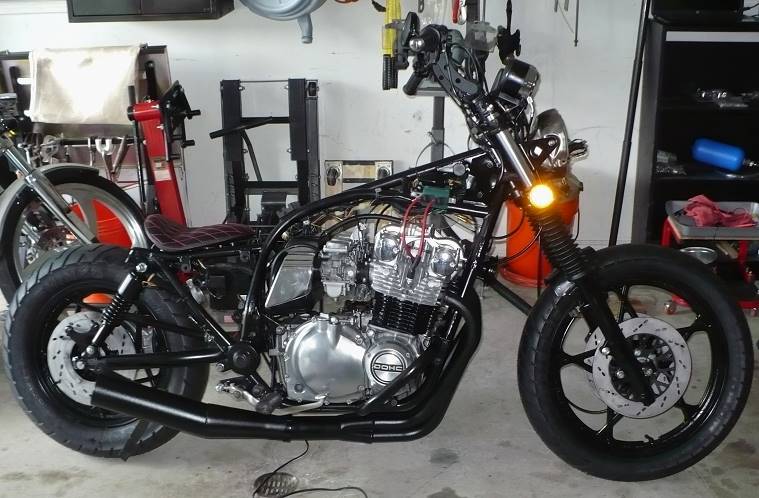
More to come later.
Next: Almost there…