
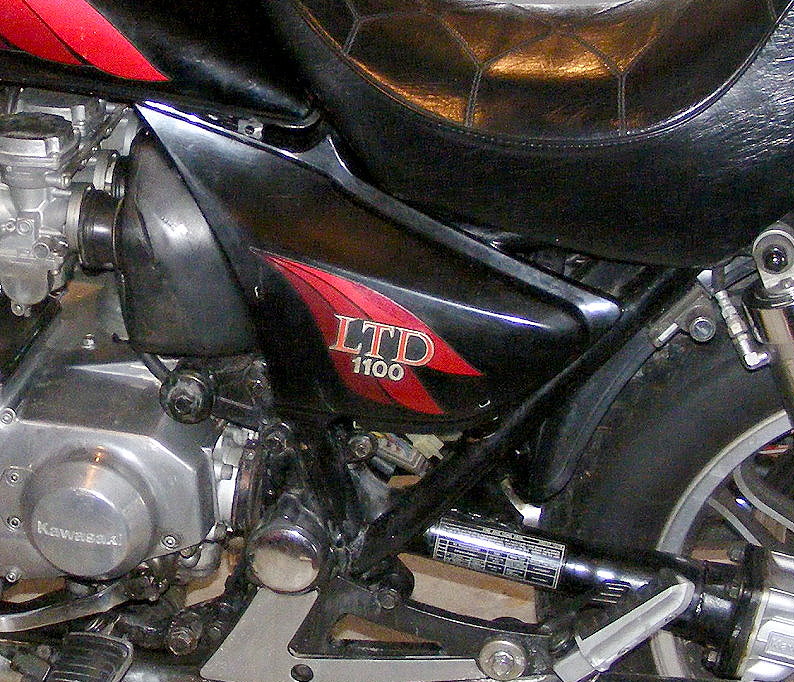
The ZN is actually in fair condition for being 31 years old and, for the most part, was probably taken care of. The side covers, on the other hand, haven’t aged gracefully.
There are a lot of bobbed bikes (and cafes) that do away with the side covers. I see that a lot on early CBs. It’s a good look if it can be pulled off, in my opinion. I can’t attest to what’s involved in making that happen on an early CB…it’s been many decades since getting CB grease under my finger nails.
The ZN’s configuration doesn’t lend itself to opening up the side cover space. There’s too much stuff under the covers to muck around with. So, the options are to fabricate new covers or re-work/save the old covers. I imagine a third option would be to purchase brand new covers for around $250…yeah, not going to happen when the cost of the covers are about half of what I paid for the entire bike.
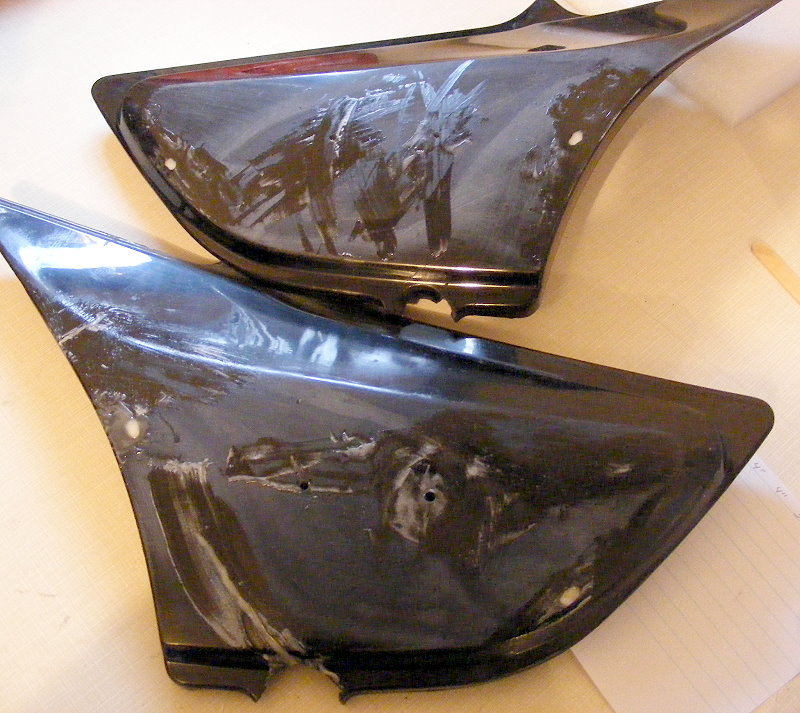
The original plastic covers had some issues that needed attention. First were cracks of varying degrees. Some were simple hairline-type cracks, some involved just the exterior, and others were completely through from the outside to the inside. Next, the bottom of the covers had bolt holes for fasteners that reached through and into the frame. Basically, these fasteners held the covers on the bike. On both covers, the bolt hole sections were completely gone. To improvise, a previous owner drilled two holes in each cover and zip tied the covers to the frame. Ingenious, but not as ingenious as layering the backsides of the cover with duct tape to keep it from falling apart…and I’m glad it didn’t fall apart while removing said duct tape.
It’s funny how parts of the cover that should have snapped right off didn’t break or take any damage at all (thanks to the motorcycle gods, I guess). For instance, the push posts and the upper tabs.
Alright then. Time to fix some plastic. Like everything else, there’s more than several ways to fix side covers. Repair methods include use of ABS cement, Plastex, Plast-Aid, Plastic Welders, super glues, epoxies and so on. There’s really no shortage of internet help on the subject.
While I’ve used J-B Weld here and there, I can’t say I was a fan. Just like I’ve never been a ‘fan’ of hammers and nails or screwdrivers and screws. They’re tools. They do the job they’re intended to do.
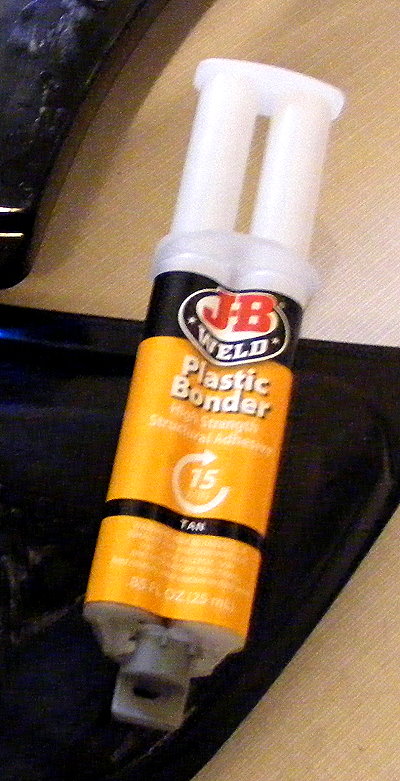 Since working on the plastic covers, I’m probably a J-B Weld fan. I don’t know, maybe I’d think the same about Permatex and others…but I didn’t try them for this repair. The two products that I used from J-B Weld are Plastic Bonder and PlasticWeld.
Plastic Bonder is like Bondo for plastic. My first thought when taking a look at the package was ‘oh crap.’ It’s a big syringe with two plungers. That usually means the contents are supposed to flow at the same rate but…they never do (at least for me). Okay then, let’s get this little experiment over with and open the package. What the…how do you like that…a little mixing stick? Nice. Okay, I’ll need something to mix this stuff on. Wait…what does that say inside the package…mixing tray? Cool. That’s a good start. Now, twist off the cap and push both plungers equally…yeah right…ugh. Wow! Equal flow with no stress or strain.
I’m getting a little bit ahead of myself. Before working with Plastic Bonder, the Dremel with an Engraving Cutter was put to work. The idea is to deepen and widen the existing cracks and let the Bonder fill in the space to form the bond.
Now, the cover that was badly cracked needed more than Plastic Bonder. It also needed fiberglass cloth. Basically, the backside of the cover is smeared with Bonder and the cloth is pressed into the Bonder. The cloth acts as reinforcement making the cover stronger than ever.
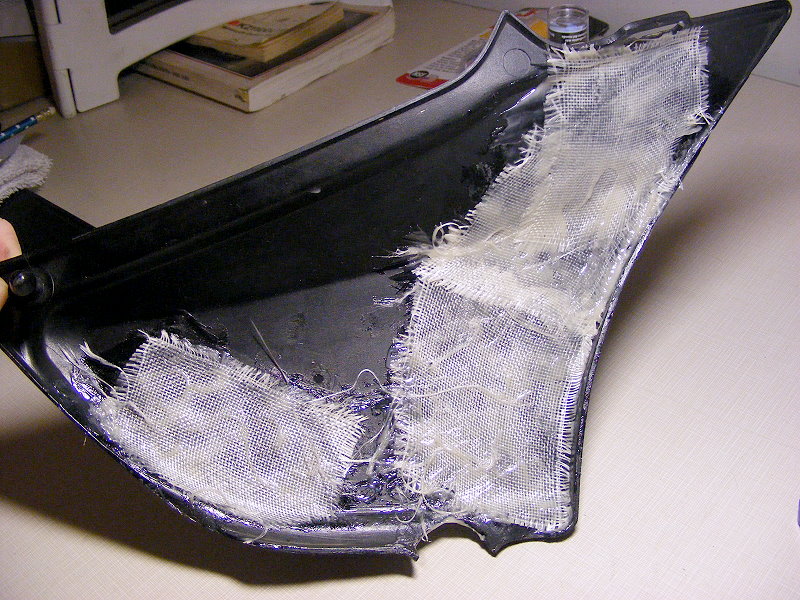
I really liked Plastic Bonder. It mixes well and dries in the right amount of time. It sands very flat and clean. Hopefully, it holds up as well as it applies.
PlasticWeld is an epoxy putty. The instructions are pretty much the same for all J-B Weld products: cut, mix and apply. Do not shortcut or skimp on the mixing step. If it’s not completely and thoroughly mixed, the repair will flake off in chunks and nobody wants to see that.
PlasticWeld sets up fast and can be formed by hand. When cured, it can be sawed, drilled, carved, sanded and painted. So…sounds like it’s just the ticket. To make the new sections, I had to relive my childhood experiences playing with Play-Doh—knead it and form it. The better you form the putty, the less you have to sand and that’s always good, even with Dremel Sanding Bands and a Black and Decker QS900 Finishing Sander.
The product information says these products functionally cure in two to three hours. Generally, I’d rather let it set up and cure overnight before sanding, drilling and applying primer.
It’s important to note that plastic CANNOT be primed and painted the same as metal. It will do weird and unusual things. Don’t ask me how I know. Okay, with that important note out of the way…
After the J-B Weld is cured, it’s time to get down to painting. A good guideline for painting plastic follows.
- Clean: Thoroughly wash the part with Simple Green. It removes grease and oil.
- Sand: If the part has a smooth finish and is known to be sealing, use medium-grit sand paper and scuff the surface. My aged covers were taken down to bare plastic and then sanded flat with 150-grit sand paper.
- Clean: The part needs to be cleaned in preparation for paint. I use rubbing alcohol or Eastwood’s PRE. Tack cloth the piece.
- Primer: As stated above, it’s important to use the right primer and paint. This project needs Rustoleum Plastic Primer. Some major differences using this primer are:
- One light coat only
- Best adhesion happens in five to seven days
- Paint: Tack cloth the piece. Apply several light coats of paint rather than one heavy coat. For this project, I used Rustoleum Professional High-Performance Enamel Spray. Check the manufacturers’ directions, especially with respect to flash times.
- Unless there are heavy runs, I don’t wet sand color coats when the project will use clear coat. To me, it’s a waste of time and all sanding occurs after applying clear coat.
- If I’m not using clear coat, then I’ll sand between color coats to attain as flat and smooth a surface as possible before the final coat.
- Clear: At this point, I’m not taking chances using a ‘regular’ clear coat. Instead, my gut’s telling me that the better route is Rustoleum Paint For Plastic – Clear.
- As stated above, plastic does odd things under paint, especially when exposed to the wrong paint or paint combinations. Plastic acts as a heat sink when painted. It grabs and holds the heat generated from the paint whereas metal reflects that heat back off the piece.
- I’ve seen a plastic cover wrinkle—for unknown reasons—after being perfectly primed, painted and cleared. Although the paint wrinkled, the surface of the plastic cover wrinkled and softened. After removing all the paint and primer, the cover had to be sanded flat…the softened plastic was like gum.
- I’d normally apply four coats of clear; however, as always, carefully follow the manufacturer’s directions.
- Cut and Buff: This part of the process is the same as when working with a metal piece, like the fuel tank. So, check out the end of that post to see how I finish a paint job.
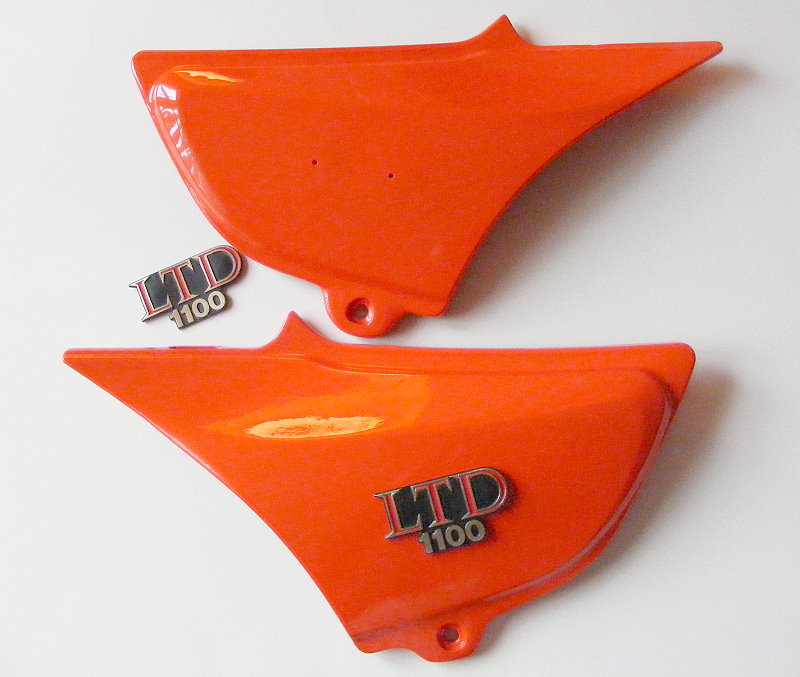
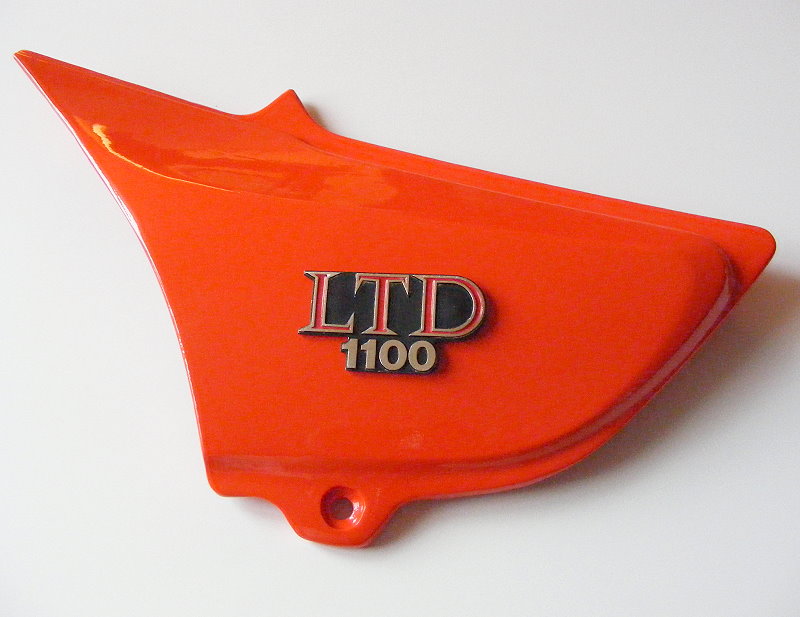
And now the covers look shiny, new, strong and back in shape! Ah, if it were only that easy for me, then I’d be on to something!
Next: Adjusting valves