
Yes, mishmosh or mishmash is a real word. According to dictionary.com, mishmosh is a noun meaning a confused mess, hodgepodge and jumble. That’s a fairly good definition of what comprises this post.
While it may seem like everything I did on the ZN was captured in writing, there were several smaller things that I learned or did that weren’t forever memorialized on the internet.
~ ~ ~ ~ ~
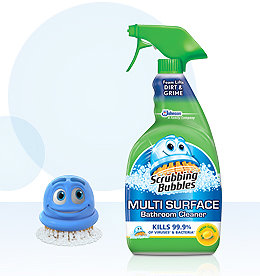 First on the mishmosh hit list is Scrubbing Bubbles. The exhaust ports at the cylinder head had apparently leaked and leaked badly. The areas around the exhaust were badly stained from exhaust gases and soot that’s been burned into the motor. I tried soda blasting the stains. But, I was hesitant about blasting too much soda at the exhaust ports even though they were stuffed with rags. After reading all the raves about Eagle One Etching Wheel Cleaner, I gave it a try. I’m sure it has its place in cleaning certain materials. Among the other cleaners were Simple Green, Purple Power Industrial Strength Cleaner and Degreaser, Brakleen Brake Parts Cleaner, Gunk Carburetor Parts Cleaner and other lesser known (and effective) products.
I read about Scrubbing Bubbles on an airplane owners’ website. Pilots were discussing how to clean exhaust stains from engine cowls and stuff. Scrubbing Bubbles got a lot of raves, just like Eagle One, but at this point I was ready to give anything a try.
Scrubbing Bubbles works. Spray it on, let it soak and wipe it off. It took more than on application to remove the heavily burned on stains, but the bottom line is it worked and it worked well. I’ll probably keep a bottle on my cleaning shelf from now on.
Note: Today there are too many different Scrubbing Bubbles. I didn’t feel like spending an hour or more deciding which one is best for removing exhaust gases, so there are probably better Scrubbing Bubbles choices for the job. I just picked what looked like the original formula (see photo). Maybe next time I’ll do a deep dive into the various types…blub, blub.
~ ~ ~ ~ ~
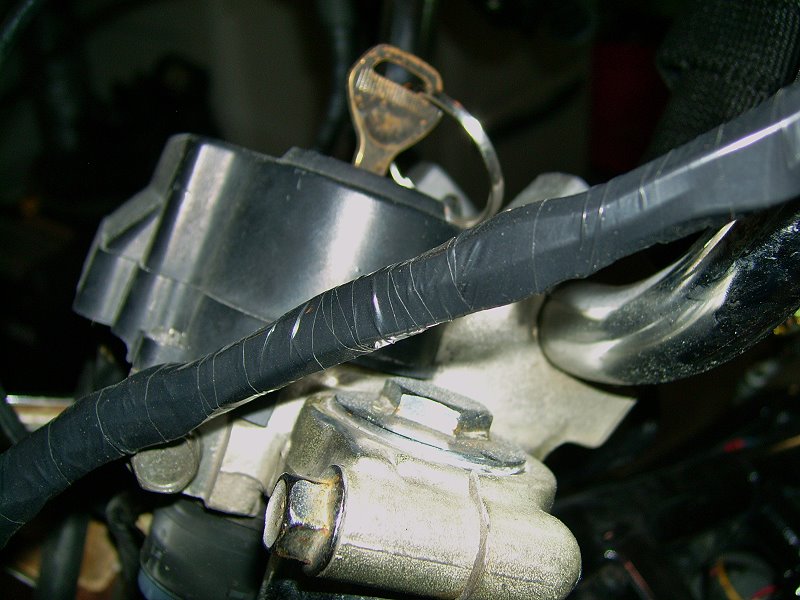
Next up, the main wire harness had a chintzy black plastic wire loom that covered the wires from under the fuel tank to the headlight. It looked bad to me. After removing the loom, there was a layer of electrical tape holding everything together. Ever remove 30-year-old electrical tape and notice what’s left? A gooey gluey mess, that’s what’s left behind by electrical tape.
To avoid the same mess and the same chintzy look, I used Non-Adhesive Wire Harness Tape to wrap everything up again. The tape is easy to use and is OEM on many older bikes and cars, including Corvettes. As a bonus, it’s inexpensive and not hard to find on the internet.
In one or two places where it was a tight squeeze, I doubled up on securing everything with adhesive electrical tape. It wasn’t necessary because the non-adhesive tape is like a cling wrap and wants to adhere. But if the tape gets twisted onto itself, it won’t grab as well because the grabbing surface went from two inches to whatever. Also if the tape’s stretched too far or too tight, then like adhesive electrical tape, it’ll want to spring back to its original size and unravel to do so.
~ ~ ~ ~ ~
A riveter is handy to have in the tool box. I don’t use it often but when it’s great to have on hand when it’s needed. Many people use rivets to attach covers to their motorcycle saddles. I’m not doing that on this bike but it’s an effective method. I am using it to attach the Snap Clamp (see previous post) to the saddle pan with 1/8-inch aluminum rivets.
~ ~ ~ ~ ~
The ZN, like most bikes, is equipped with a clutch safety switch and a side stand safety switch. The clutch safety switch makes sure the engine isn’t started in gear unless the clutch lever is pulled in. Basically, it prevents the bike from suddenly taking off when thumbing the starter button.
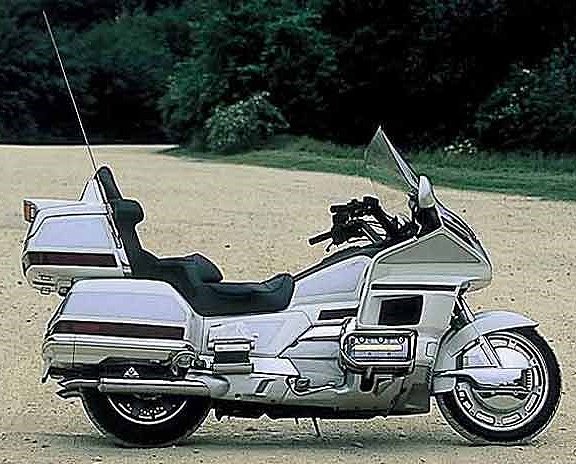 I owned a brand new 1996 Honda Goldwing SE with, of course, a clutch safety switch or so I thought. One day after morning classes let out, I hurried to the parking deck anxious to ride off on my new bike. As I stood next to the bike, I pressed the starter button waiting to hear the six cylinder boxer engine come to life. Instead, the bike lurched forward in the blink of an eye and laid over on its left side engine guards.
That sort of thing only has to happen once, especially with a new 900 pound touring bike. It’s not easily forgotten and it tends to forever change the way in which a bike is started. In other words, I don’t need a clutch safety switch.
The ZN also has a side stand safety switch that would keep me from riding off with the side stand in the down position. In a nutshell, if the side stand is down, the bike is in gear and the clutch lever is squeezed, then the bike will cut out when the clutch lever is released. In my more than 40 plus years of riding, I’ve never ridden with the kick stand down.
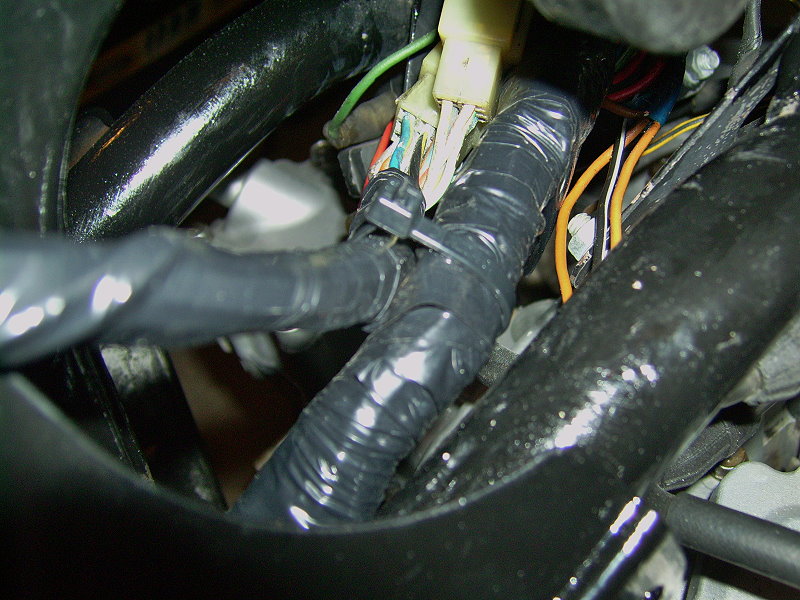
The clutch safety micro-switch resides next to the clutch lever. It’s a small rectangular box with a tiny plunger that rests against the clutch lever. The switch needs to be closed for the starter button to be able to engage the starter.
Removal is easy. Unscrew and unplug the micro-switch with plunger from the handlebar controls. Next, follow the wires to where they meet a wire bundle. Here where the wires meet, each clutch safety switch wire joins a wire using a female/male electrical connector.
Separate the wires at the connectors. And, connect the wires from the wire bundle to each other, forming a loop. This connection should signal that the clutch is never engaged and thereby allowing the bike to start in gear.
Disabling the side stand safety switch basically uses the same logic/process. Simply unscrew the switch box at the side stand. Then, follow the wires from side stand switch to where there’s an electrical connector. Disconnect the wires at the connector and connect or splice together the wires coming from the wire bundle. Joining the wires completes the circuit and allows the bike to start while eliminating the switch at the kick stand.
~ ~ ~ ~ ~
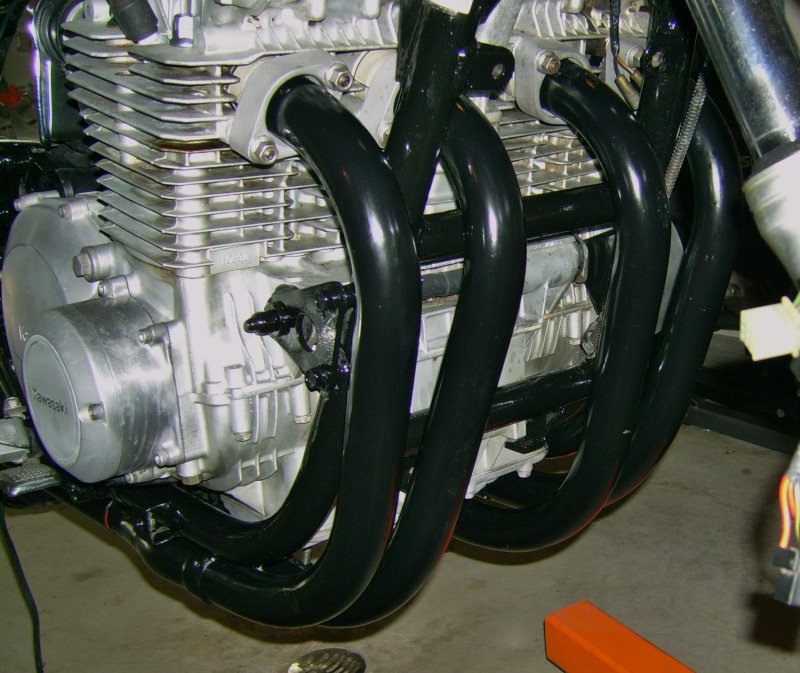
Finally, it’s been a while since working with the exhaust and the project is at the point where it can be installed without having to remove it for another task. This is how I did it.
- Made sure the old exhaust gaskets were removed from the cylinder head. Double-check the exhaust port for an old second gasket that may be hiding in the port covered by soot.
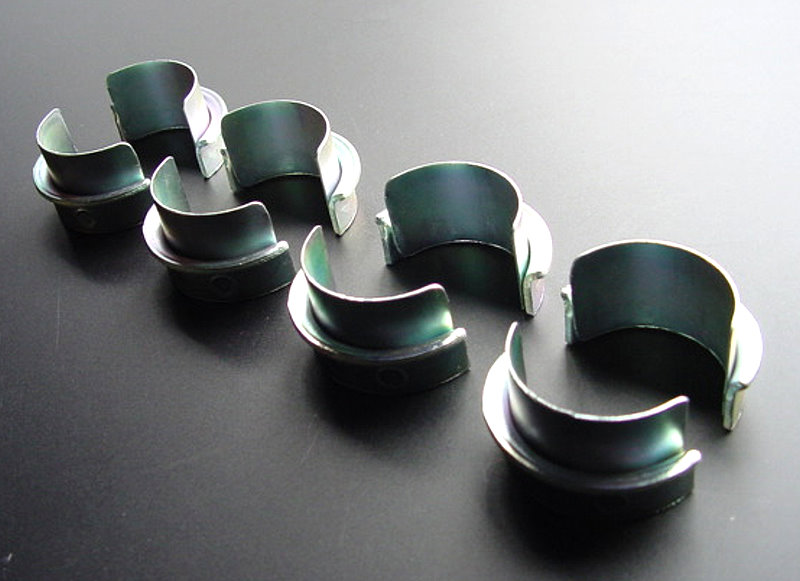
- Purchased new copper crush gaskets and tossed the old gaskets from the cylinder head. Sand blasted and cleaned the exhaust pipe collars (below). They look to be in good shape so they’ll be reinstalled.
A few days ago while re-cleaning the areas around the exhaust ports, I took a wire brush to the exhaust ports and got them shined up, ready for duty. Acetone works well to get the remaining crud out of the small recesses of the ports.
To get started with the installation, I put a little Permatex Red Gasket Maker on the new copper gaskets to hold them in place while handling all the various parts and pieces that make up the exhaust system.
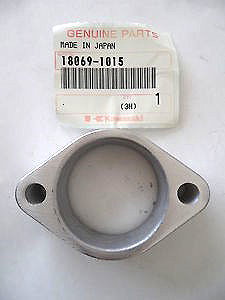 While the Permatex is setting, each header pipe received an exhaust pipe holder (right) followed by a pair/set of exhaust pipe collars. The collars were held together around the header pipe with masking tape and installed with the non-flared end facing the motor. The flared ends fit into the recessed areas of the exhaust pipe holders.
This system uses a collector and cross-over. From what I’ve read, the cross-over helps with low end grunt. Some riders have remarked that they should have kept the cross-over for better low-end torque. All the comments are anecdotal in nature without any supporting dynamometer sheets. I figure it’s better not to take the risk, plus the cross-over gives two sturdy attachment points for the system.
Leaving the collector and cross-over in place meant lots of maneuvering to get every piece of the puzzle properly aligned and snuggly fitted before cinching up the exhaust system. This system also uses three manifold exhaust gaskets where the two interior header pipes meet the collectors and where the cross-over fits together.
The best way to go at the exhaust is to fit all the parts loosely together. In other words, leave all the fasteners and clamps loose. In this way adjustments are made in incrementally over the entire system. Tightening one section of the exhaust too early in the process will inevitably put some part, piece or section out of whack.
And there’s my confused mess, my hodgepodge and jumble of stuff. While this is the end the post, it’s not the end of my confused mess. I’m sure. In fact, earlier today I was riveting spike strips to the saddle pan. Simple fun, right? Measure, drill and rivet. Sure…easy…but there are a couple little ‘tricks’ that were learned along the way. While there are no informative videos on the internet that I could find, I’ll reveal a few secrets about riveting spike strips in my saddle making posts. So stay tuned. I promise it will be riveting.
Next: Painting brake calipers