
December arrived and brought raw weather. It felt like snow yesterday. Today it’s dark, gloomy, rainy and cold. Think the opposite of Hawaii or Florida.
While I’m waiting for the real winter weather (ugh) to arrive, I’ll get a few tasks done so that I’m that much more ahead of the game in a few months when the robins return.


General lubrication is needed to keep things operating smoothly.
I lubricate the parts with Waterproof Grease, White Lithium Grease or any one of the multitude of lubricating oils available. Other people may use motor oil, WD-40, transmission fluid and whatever else imaginable.
It seems that for each person who chooses to use a particular lubricant, there’s another person who will claim that the lubricant will do nothing but clog up the works. If something lubricates, then it lubricates. The issue then isn’t what is used as much as how often it’s used.
Before lubricating any part, start by removing any rusty spots and wiping off old grease, oil, dirt and grime. I like using Non-Chlorinated Brake Cleaner to speed things along. Badly rusted fasteners should be replaced.
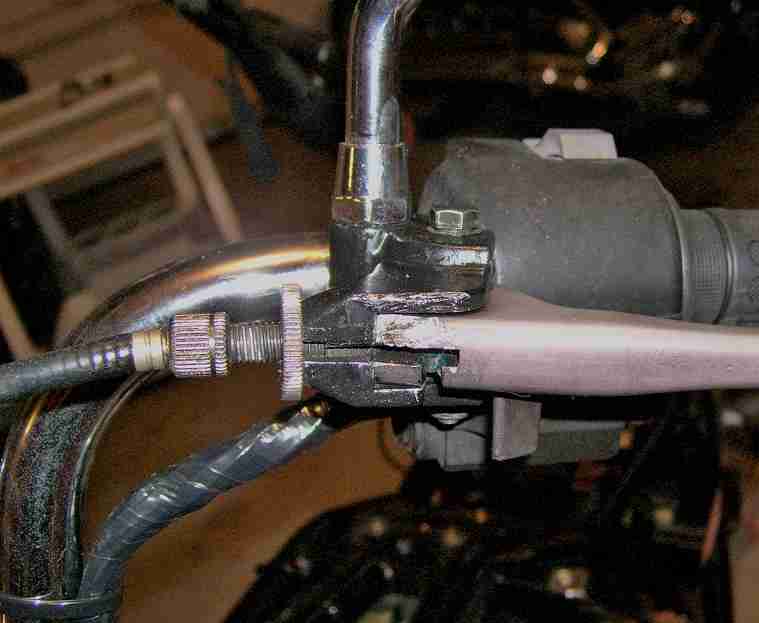
I start with the Control Cables—Throttle and Clutch. There are two ways, at least, to do this. The old school way involves the use of a plastic bag, a rubber band and lubricant of some kind. The internet has numerous tutorials showing variations on this method. The old school method works.
The new school way involves using MotionPro Cable Luber or similar device. The lubing device is simple and easy to use but can be a little messy. Devices with two screws are a little better than those with one screw. Rags are always needed to catch excess spray. It’s also a good idea to spray a little, work the cable, spray a little more, work the cable, etc.
Another method that’s gaining popularity is to inject lubricant with needle-type injectors that fit between the sheath and stranded cable. I ran across the EZ Glider Cable Lubricator the other day and might give it a try in the near future. It sure looks fast and easy.
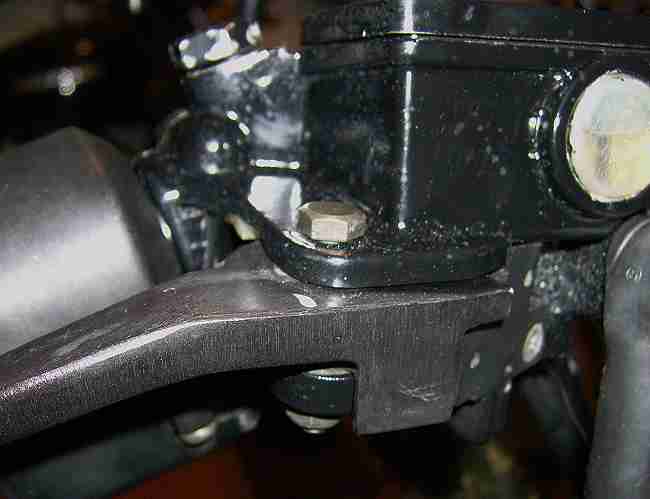
Continuing with the cables, I apply grease to the pivot points on the brake and clutch levers. These areas—where the cable attaches to the lever—tend to dry up and get full of grime very fast.
While I’m at it, the Throttle Tube deserves some attention too.
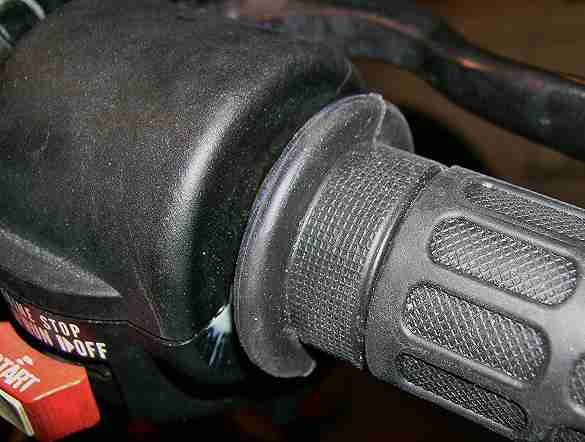
Again, the attachment and pivot point gets waterproof grease. Oil is applied to the section of the throttle tube where the cable rides. And, as a precaution, the handlebar underneath the Throttle Tube gets a light coat of grease. Greasing the handlebar may be overdoing it but it doesn’t take much work to access and lubricate the area. It can’t hurt.
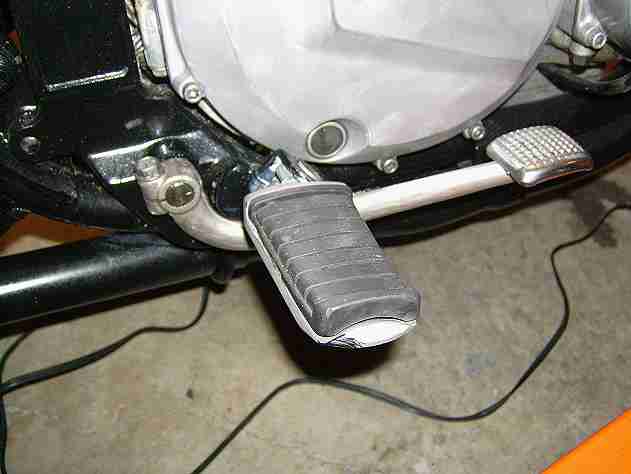
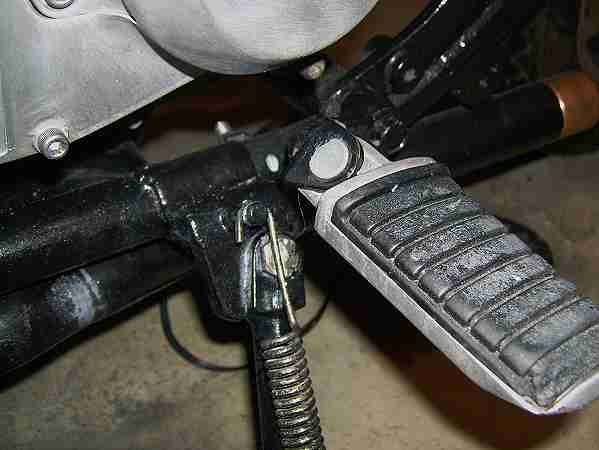
Moving on down, the right foot peg and brake pedal assembly—including the rear brake rod joint—gets cleaned and greased.
On the other side, the left foot peg and kick stand gets greased to keep things moving nicely.
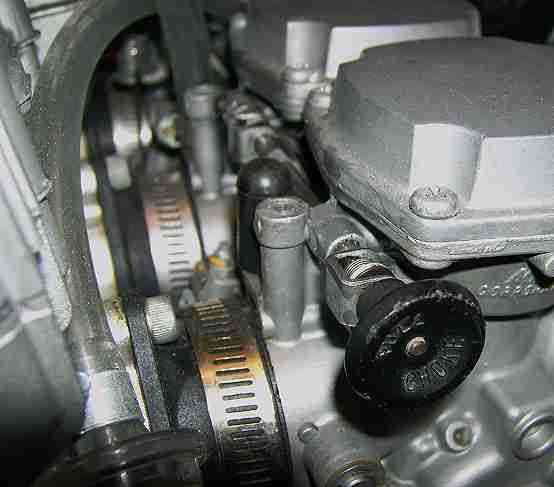
If the bike retained the rear pegs and center stand, they’d get a dollop of grease. The Choke Knob Rod gets a good bit of oil. I can definitely notice an improvement in the movement.
Finally, the meter/gauge cables get a very light coat of grease. The bike has one meter (or gauge) cable, one for the speedometer. The cable is new so it was already clean when installed while doing work on the front end.
That’s all there is to general lubrication. It’s not a whole lot of work but it adds lots of insurance and miles of worry-free easy riding.

Next: Replacing worn cables