
Valve-check intervals depend on many factors like cam profile, lobe hardness, the kind of followers or buckets, valve weights, average rpm and so on. Manufacturers run tests to determine valve train wear and set inspection intervals accordingly.
The first few inspections usually show little, if any, wear. As engines accumulate miles, some valve clearances will increase and others will decrease. There’s no way to know except by doing a valve-check.
At 30,000 miles, the ZN’s engine is settled. But, I don’t know when the last inspection occurred, if it occurred at all. Without that information, the clearances need to be checked before starting and running the motor. There’s no need to melt or burn a valve because there’s not enough clearance. I also don’t need valve train components banging into one another because there’s too much clearance.
Different types of valve trains use different inspection/adjustment procedures. Some things are universal however. The engine must be cold. The fuel tank, valve cover and crankshaft or flywheel cover must all be removed. And, the engine must be turned over to find Top-Dead-Center (TDC) of the compression stroke for the cylinder being checked.
To turn over the engine, put a wrench on the flywheel nut. If that’s not possible, jack the rear wheel off the ground and put the transmission in top gear. Turn the rear wheel to turn the engine.
The Service Manual gives guidance on finding TDC and using the flywheel marks. There’s also a basic way to get to TDC. Look at the intake valve as the engine turns over in the forward direction. When it goes down and then up, take a long thin screw driver and put it down the spark plug hole. Continue turning the engine over until the piston touches the tip of the screw driver. Keep turning the engine. Don’t jam or bind the screw driver in the spark plug hole. The piston will push the screw driver up. When it stops and starts to go down, that is TDC of the compression stroke.
 The ZN’s valve train uses shims to adjust valve clearances. The basic idea is this. If the valve needs more clearance, it gets a thinner shim. If it needs less clearance, it gets a thicker shim.
That’s well and good but that means using math to figure out shim sizes for all 4 cylinders/8 valves. At $10 to $15 per shim, I’ll want to swap shims between valves if possible – a tight shim for a loose shim and a loose one for a tight one.
All the math and swapping shims can get me a little confused and I’m apparently not alone. The Valve Shim Calculator Tool is an online tool that calculates all the specifics and can save me a small fortune in shim expense.
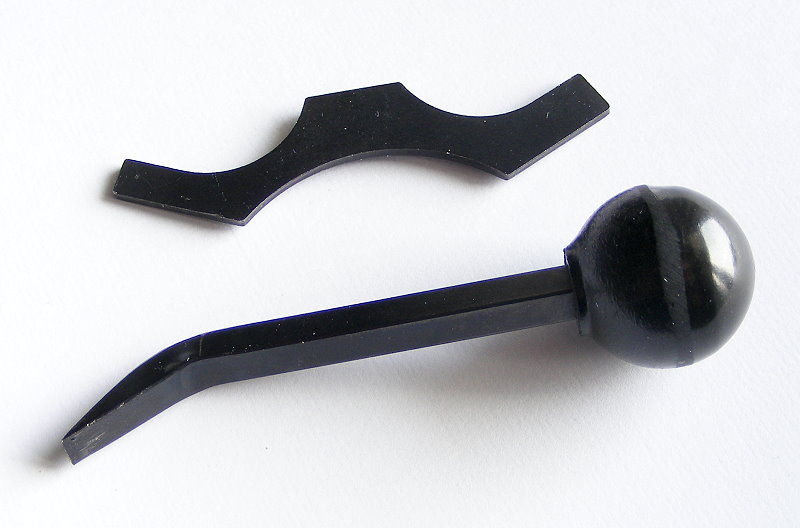 Speaking of tools, this special tool by Motion Pro for Kawasaki motorcycles is a must. While different valve trains use different tools, they all do the same work: hold down the edge of the shim bucket, but not the shim, against the valve spring pressure.
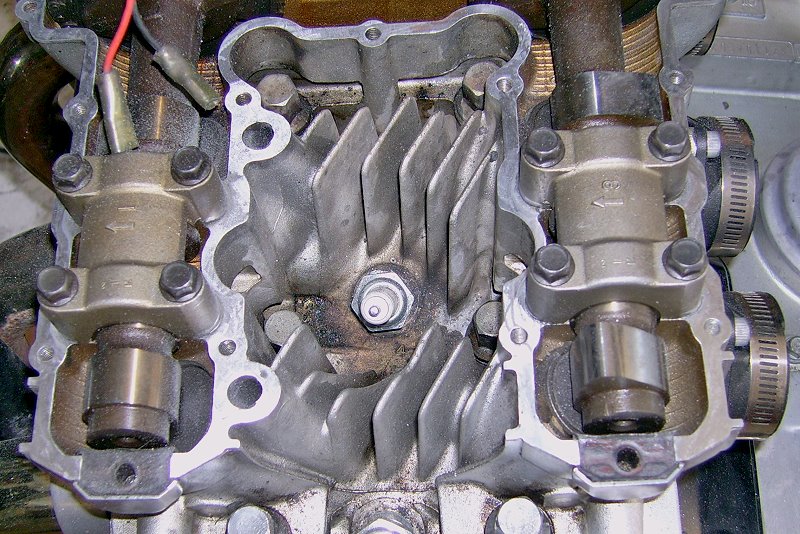
Here we go…turn the crankshaft so the cam lobe points directly away from the valve. Insert the small pry bar between the lobe and the shim. Push the tool in and pry down so the shim and shim bucket are forced down. Next, insert the holder between the camshaft and the tappet edge.
 (Situating the holder got a little tricky with the valves in the middle of the head. Hand space is limited and the holder can slip out of place. The result would be that the shim or holder or pry bar would get stuck. Loosening the cam caps helps. Removing the caps may be necessary so the cam can be moved up just a bit to then remove the shim or whatever. Two cautions: First, cam timing can be lost when moving the cam. Second, manuals give incorrect torque specs for the cam caps. They need 8.5 foot pounds and no more; otherwise, they’ll strip in the head.)
Where was I? Oh yeah…With the holder in place, remove the pry bar and pop the shim out with a small screw driver or the edge of the pry bar. Once loose, retrieve the shim with tweezers or hemostats.
Shim sizes are marked on the shim. If the numbers aren’t clear, then measure it with a caliper. The side marked with the size goes downward under the cam lobe, rather than up. That way the cam lobe doesn’t wear away the marking.
Now, replace the shim, replace the pry bar and remove the holder. Finally, remove the pry bar. Now…I need to do this with every valve. Sounds easy, huh?
The thing is to go slow and don’t force anything because expensive parts can be easily broken! Even worse, some of those parts may not be replaceable.
Shade tree mechanics usually double check their work. Good idea. When it comes to dealing with extremely small clearances, I check my work three and four times. Shims can be cockeyed, oil underneath and so forth can affect clearances. Make sure the shims are fully seated by turning the engine over by hand several times and checking it again.
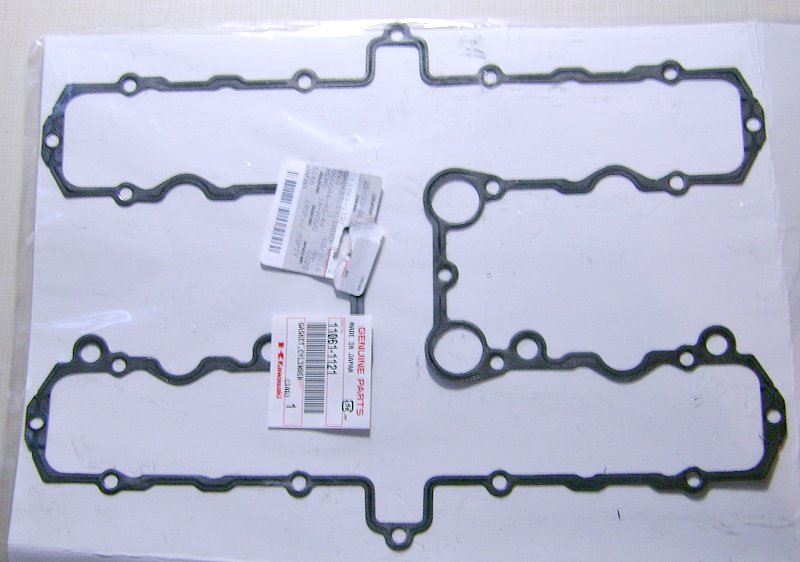
Almost done except for one more trick…replacing the valve cover gasket (below). When it comes to large unwieldy gaskets, some people apply a light coat of grease on the gasket to hold it in place while carefully installing the valve cover.
I have Permatex Ultra Grey and Permatex Ultra Black in my tool box (below). Both can handle a valve cover job but the Black is better.
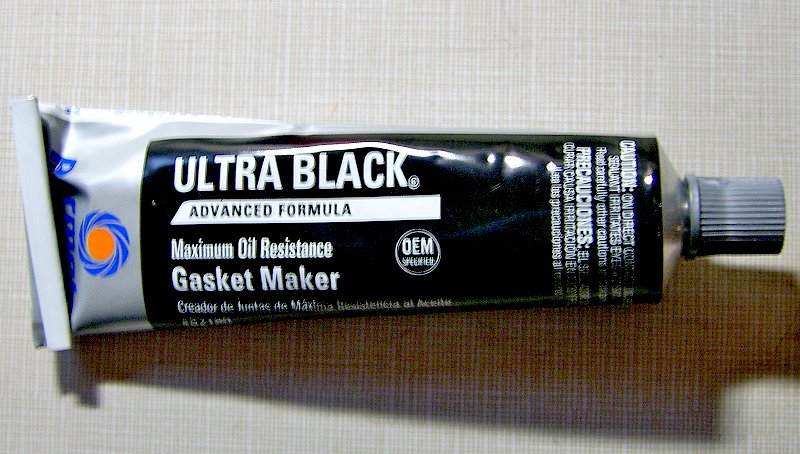
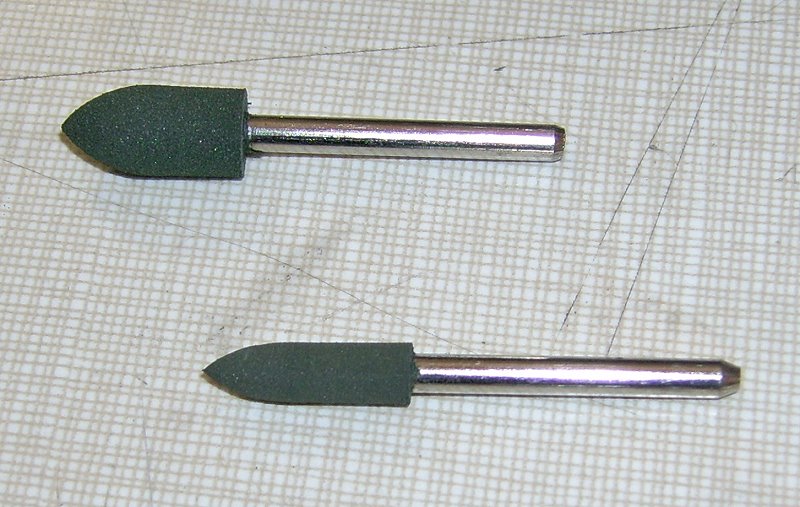
The trick here is to carefully apply a light amount of Black all around the thoroughly cleaned and dry valve cover surface (below). There are many methods available to clean away old gasket material. The main concern is to stay away from a method that will harm—scratch, gouge, make uneven, etc.—a mating surface. After soaking the material with WD-40, my tool of choice is the rotary Dremel with a Rubber Polish Point (below) using a light touch. Once everything has been cleaned and the Black’s been applied, place the gasket in position and leave it to setup overnight.
The next day, apply another thin amount of Ultra Black to the other side of the gasket surface. Carefully install the valve cover and attached gasket to the head. If the Ultra Black was properly applied, then only a very small amount will be squeezed out as the cover is torqued down. It’s important to also apply a thin coating of Ultra Black all the way around the cover end caps before dropping the cover in place.
Several not-so-good things can happen while doing this work involving valve train components. So, it’s important to take it easy and don’t rush. If one of those things does happen, don’t panic. Stay calm because I’ll fix it and get the ZN back on track.
Next: How to clean CV carburetors