
The internet is flooded with information of all kinds. Some of it is good. Some of it is, shall we say, dreadful. It’s no different when it comes to stripping the exterior of a fuel tank. The internet readily offers a ton of ways to deal with paint and decal removal. Some processes involve heavy labor, like sanding by hand. Some involve the use of heavy-duty chemicals, like aircraft stripper. Although the stuff is nasty, it works.
I don’t know about anybody else but I try to avoid hard labor if I can. Hard labor is hard and, at this age, most labor is hard. If there’s an easier way to do something, I’m all for it. By the same token, I also try to avoid nasty chemicals. (The key word here is nasty.) Stuff that stinks, burns, makes your eyes water or requires EPA disposal is not my kind of chemical.
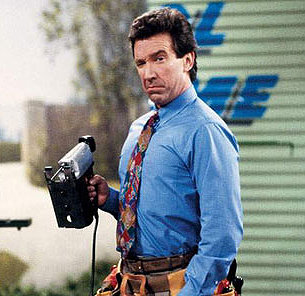
Like Tim ‘The Tool Man’ Taylor from Home Improvement, I really enjoy the power of power tools. ‘The Tool Man’ is just a stereotyped American male TV character but I definitely relate. He exemplifies the adage that there’s a tool for every job. Of course, the ‘right’ tool can be different for each user.
The right tool for me to remove paint and clear-coated decals involves sand blasting. I am fortunate enough to have a sand blasting rig—air compressor and cabinet—in the basement. A post detailing the rig will appear soon. For now, let’s suffice it to say that the sand blaster rips old paint from metal surfaces like it was nothing.
The sand blaster leaves a bare metal surface that primers love (provided the correct blasting media was used). The surface is roughed up very well so it can bite into the primer. I know that everyone doesn’t have a sandblaster. I didn’t have one for fifty-seven years. When I needed something sandblasted in the past, I was able to find someone on craigslist or in the Yellow Pages, or got a lead from a local garage.

The other tool I used for the first time is these 3M SandBlaster Discs. These abrasive discs easily and quickly attach to my 4 1/2″ Angle Grinder using the 3M SandBlaster Adapter. As a bonus, no wrenches are needed.
The 3M system is not only easy to use; it’s flexible. By flexible, I mean two things. One, it’s flexible so that it works on contoured surfaces, like a fuel tank. Two, the discs are available in different grits and that flexibility makes it easy to choose the right grit for the job.
For my tank, I used the Coarse Clean-N-Strip disc to remove the decals that were clear-coated at the factory. The coarse disc made short work of the decals. All the work was done by the angle grinder and disc. After removing the decals, I experimented with a couple of different 3M Conditioning Discs to finish the tank.
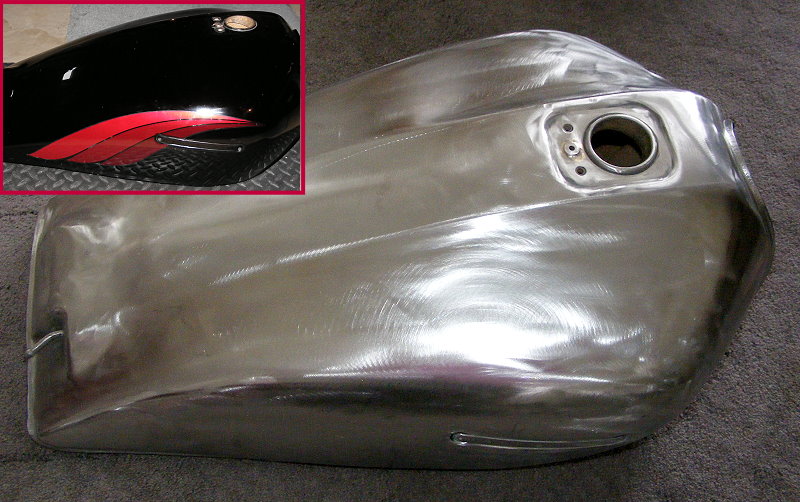
The pic of my tank (click to enlarge) shows what it looks like after using the Conditioning Discs. The tank is absolutely clean and shows nothing but the barest metal. The 3M discs are a great addition to my tool box. They make life good if you don’t like hand sanding everything from start to finish.
The discs cleaned the tank so well (and in a short amount of time) that it has to go back into the sandblasting cabinet for a quick treatment before applying primer. Primer adheres better if the surface is not too smooth and if it is applied ASAP after the surface has been prepared, not sitting around for a while.
So, the right tool—the 3M SandBlaster Discs—did make all the difference in my case. They saved me lots of time and elbow grease. Wish I’d have found these years ago.
Next: My sandblasting rig is a blast