
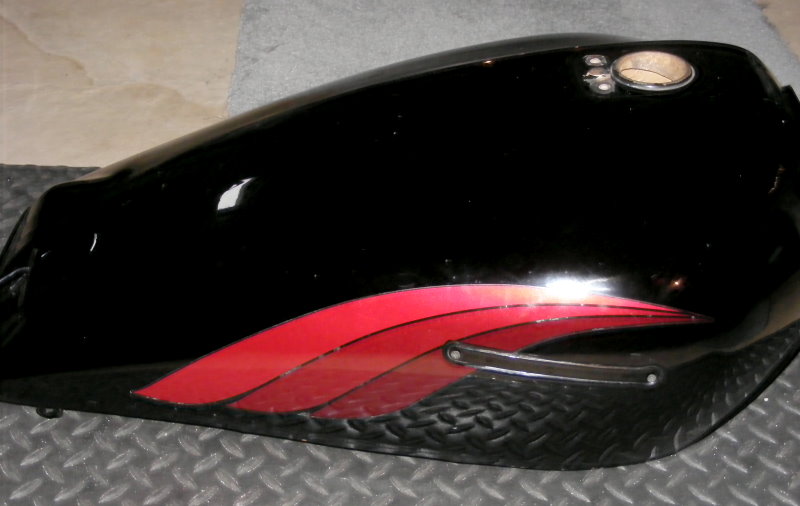
 Soon, the weather in the northeast will cooperate and let me to carry on with BYOB. December and most of January were fairly mild. Of course, all that went to hell in a hand basket when I picked up the bike. Since then, it’s been winter—cold, snow, wind, freezing rain, sleet and cabin fever. Tonight we’ll see two degrees above zero. In other words, it’s been too seasonable to do much. So, I’m working ahead and writing this post about what I’ll do in the (near) future: Cleaning out the rusty fuel tank.
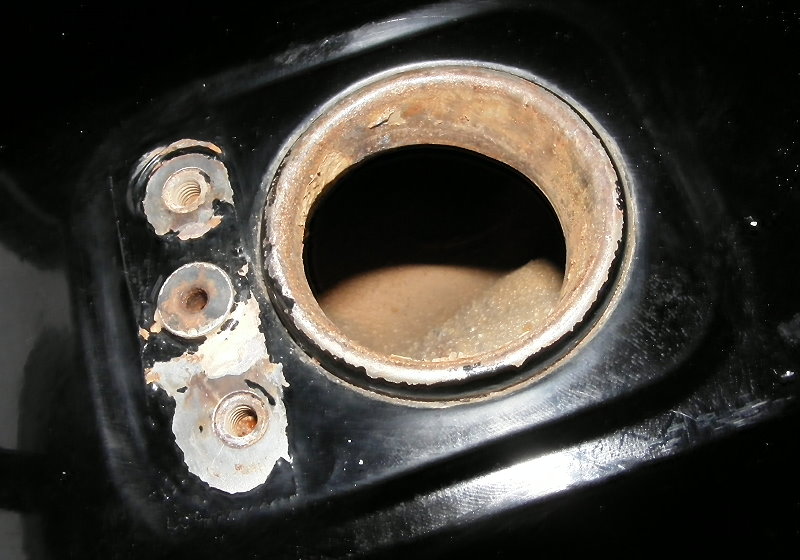
The inside of the fuel tank has a ‘normal’ amount of rust for a vintage bike that’s been sitting. It’s nothing to panic over or despair about. Tanks in much worse condition have been made serviceable using different methods. For every method, there will be believers and detractors. After sifting through loads of info, the method below makes sense and aligns with old school knowledge about what works. I do not take credit for the method which can be found here in original form. Below is my slightly skinnied down version. Follow the instructions to a T. No shortcuts or skimping allowed.
Materials
- 12 ounces of Muriatic Acid
- 2 cups Baking Soda
- 2 – 8-ounce bottles of Naval Jelly
- Heavy Duty Duct Tape
- Rubber gloves, goggles, old clothes with long sleeves
- 2 buckets
- Water hose
- Blow drier or hair drier
- Flat steel chain
Preparation
The acid is non-diluted so it’s powerful, including the vapors. So, do this outdoors and, if possible, keep downwind or use a box fan to keep from breathing the vapors. Do the preparation for disposing of the chemical FIRST! This way, it’s ready. Two buckets are needed, one to mix the neutralizer and the other to flush the acid from the tank. If one bucket is larger than the other, use the larger to flush the tank. Mix 1 part baking soda into 10 parts water (1.6 cups baking soda into 1 gallon of water). If there’s a 2-gallon bucket, fill it two thirds full and put 2 cups or so of baking soda in it and mix it. Have the water hose nearby and ready to use for rinsing away leakage.
Regarding cleanup, when finished shaking the tank with the acid and the chain inside and it’s time to pull off the tape and start rinsing, rinse the acid-rust mixture into the empty bucket (a larger bucket may be needed than the bucket used to mix the baking soda) until the yellowish-orange stuff is done coming out of the tank. Shake the tank with water in it to make sure the tank is thoroughly rinsed out. If the bucket gets full, all but tiny residuals of the acid are rinsed out by now, so let the flushed water run onto the ground. Now, tape the tank back up and do part one of naval jelly treatment. Once it’s shaken real good and ready to sit for a few minutes, go back to the acid for disposal. Pour some neutralizer from the other bucket into the acid bucket. It may fizz. Give it a few seconds and pour more. Repeat until it doesn’t fizz.
Full procedure
Remove the tank and flush it thoroughly with a hose. Remove the petcock, fuel level sensor, gas cap, etc. Tape up all holes, except the gas cap hole, with good quality duct tape. Put the chain in the tank. Carefully, pour about 12 ounces of muriatic acid into the tank and tape up the gas cap hole. Shake the tank vigorously for about 15 minutes. Keep the hose handy and rinse off any leakage immediately. It will be the color of mustard. The acid and chain eats the rust off the tank inside. If the tape bulges from pressure, vent it by lifting the tape around the gas cap hole. After 10 minutes or so, remove the tape and let the acid drain from the bottom of the tank into a plastic bucket that has a little water in it. Now, rinse all the acid out of the tank.
Re-tape the holes and pour two bottles of naval jelly into the tank. Do this immediately after flushing the acid to avoid flash rust. Shake the tank for a minute or two then let it sit for 30 minutes. This is a good time to go back to the acid bucket and slowly add the baking soda/water mix to the acid bucket. Dispose of it when it stops fizzing. After the 30 minutes, shake the tank really well again and turn it in all directions to cover every surface inside. Do this occasionally for 2 hours and then flush the naval jelly with the hose. Now, dry the outside of the tank and rig a blow dryer on warm—not hot—setting to dry the inside of the tank, e.g., duct tape the dryer to the gas cap hole opening.
Note: Do not to let the acid seep out around the tape and sit on painted metal. It will quickly ruin the paint. If there’s leakage, wash it off immediately.
Note: A critical time is opening the acid bottle and pouring 12 oz. into a measuring cup or pitcher and then into the tank. Do this carefully and don’t splatter.
Note: The acid vapors are strong. Use a mask.
Note: Once the acid is in the tank and it’s been shaken, the hardest and most dangerous part is over.
Note: A ‘safer’ Muriatic Acid jug is in the paint department for $7 or $8 at Home Depot, compared to the stuff in the garden section for $12. The ‘safer’ stuff works just as well, is cheaper and there’s not as much extra sitting around.
Next: Dealing with obstacles on a bobber project